


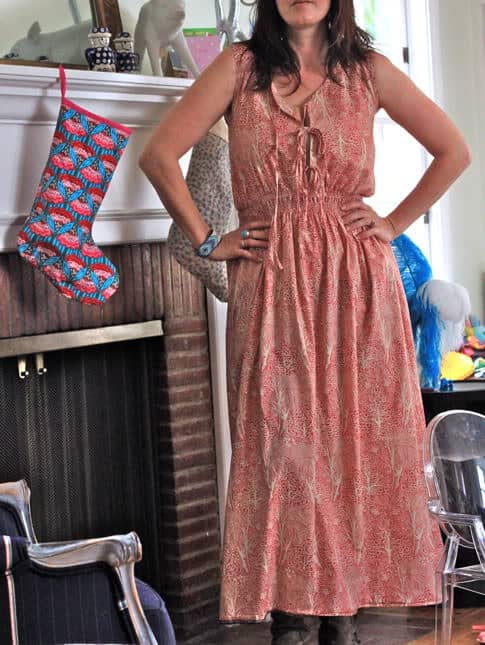
AAACK! This is so embarrassing, my attempt at modeling, HA. Go easy on me in the comments. Soooo… here is a new Hot Mess Mommy tute, for what I am calling the Modern Prairie Dress.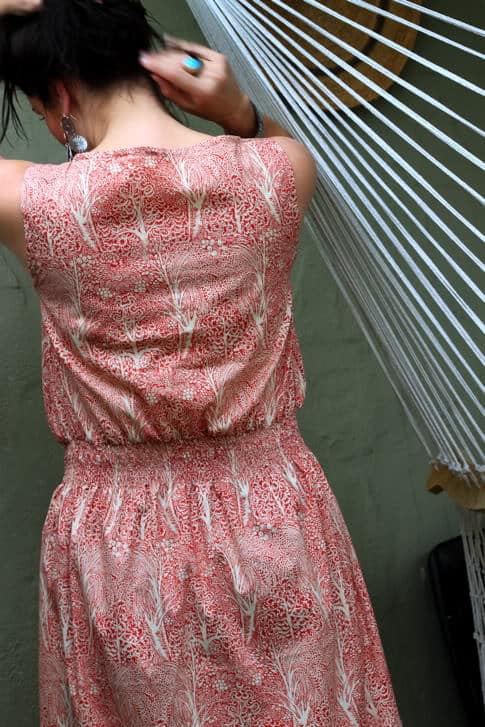
I was obsessed with Laura Ingalls Wilder as a kid, but that’s not really relevant. After the maxi-dress incident, I wondered if I could make a long dress that was just a bit more flattering. 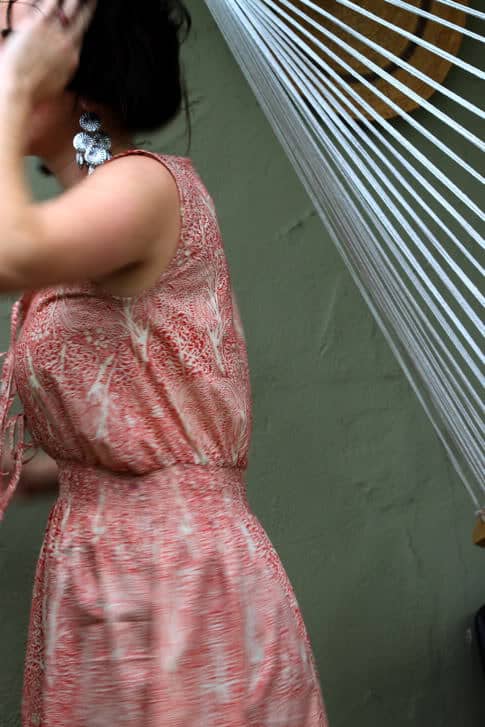
Did I succeed? You will be the judge of that.
HAHAHA that’s me! Maybe you should wash your hair and put on makeup before you try to photo shoot yourself! But anyway, this dress was made with three yards of cotton lawn and one afternoon with no childrens around. Get the full Modern Prairie Dress Tutorial after the jump!
And remember that any comment you leave this week could win you that Alexander Henry fabric. Maybe you want to mock me? I can take it.
Modern Prairie Dress Tutorial
For this dress I used gorgeous Alexander Henry Fulham Road Cotton Lawn in Martine Red from Fabricworm. You’ll also need a bobbin of elastic thread. For a tute explaining how to sew with elastic thread visit our Shirred Summer Dress post.
So for this dress you need to model it after a dress or clothes you already have, because I can’t make a pattern this big for you. However, it’s a very simple and forgiving dress, so you can be nonchalant about how you cut it out, just make sure the armholes are going to fit by modeling them from a dress that fits you well. So grab that dress and lay it on your fabric and trace the armholes and neck line.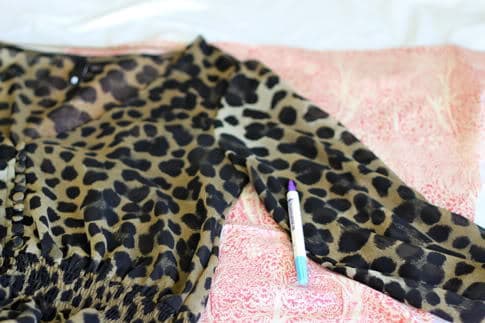
You need one piece for the back. Give it a high neck and taper the sides out under the armhole out so it has some room to gather.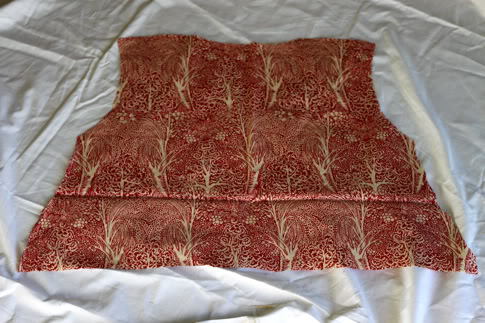
You need two pieces for the front, it’s just like the back piece except split in the middle and with a V neckline. So trace and cut: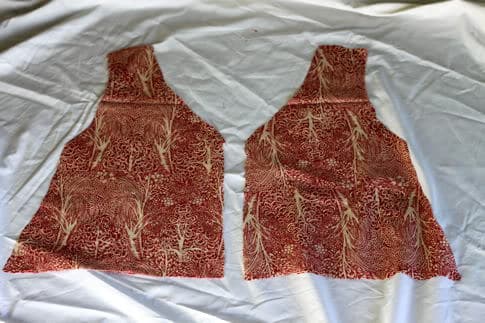
And for the skirt, you need two pieces the width of your yard, and the length from the top of your waist to the ground, plus a few inches. Again, the dress is forgiving so we don’t need to be super specific, this isn’t Nasa.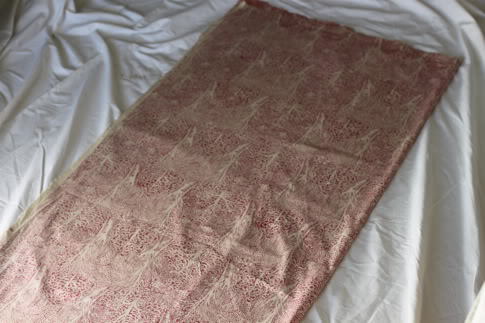
So for the skirt, fold your two pieces in half, lay them on top of each other, and taper from the waist to the end by cutting at a diagonal. You still want a big old waist because we are going to gather it, so i started about 8″ in at the waist and cut on the diagonal to the bottom corner of the fabric: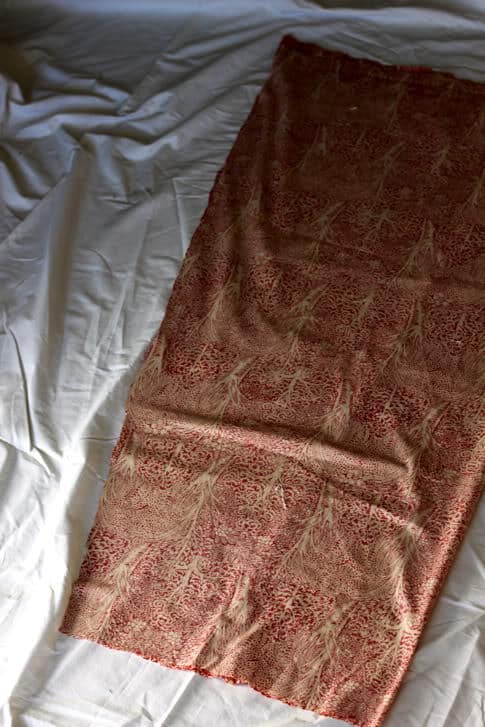
I used leftover scraps to make 1/2″ single fold bias tape. Learn how to make that on our post: How to Make Bias Tape. I made about 14 feet of it and had some to spare.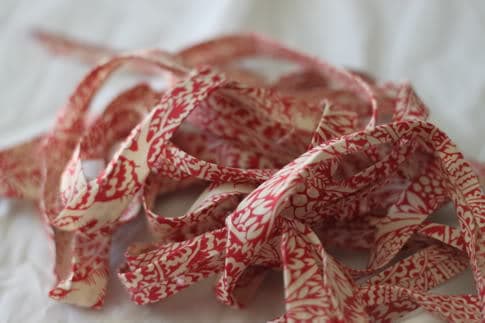
Let’s make the ties first. So cut six 8″ pieces of your bias tape, fold them in half and sew. Now you have six 8″ long 1/4″ wide ties.
Now to assemble the top of the dress. Lay your back piece right side up, then lay one front piece right side down. Pin at the shoulders and up the side: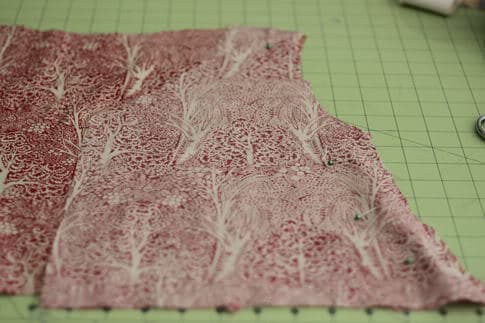
Sew the shoulder seams and side seams, then finish by serging, sewing with a zig zag stitch, or cutting with pinking shears.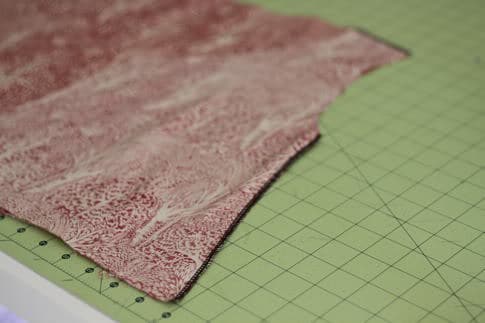
Repeat on the other side with the other top piece.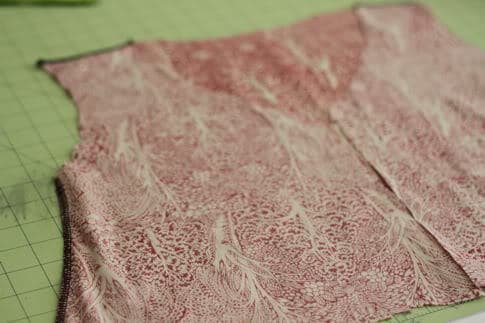
Now turn your top right side out. Grab your bias tape and open it up, then pin along the inside edge of a top piece, right sides facing, with edges aligned: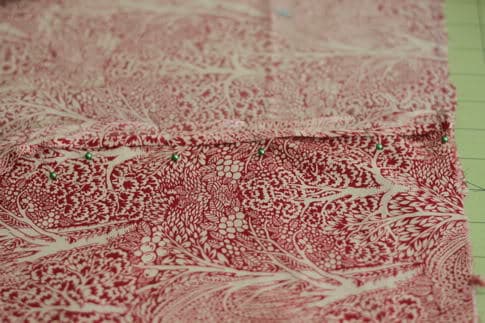
Pin all the way from the bottom front of one side, around the neck, and down the other side. 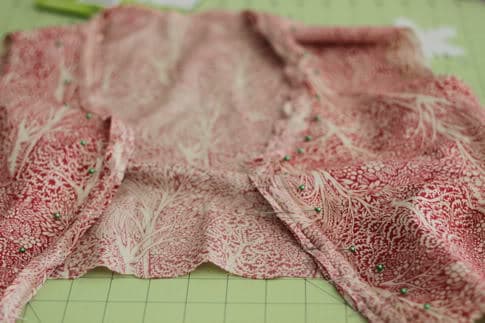
Now grab your ties. Pin them in between the bias tape and the shirt with the length of the tie to the outside so the edges are all aligned. Could I have made this dress in a more difficult fabric to see?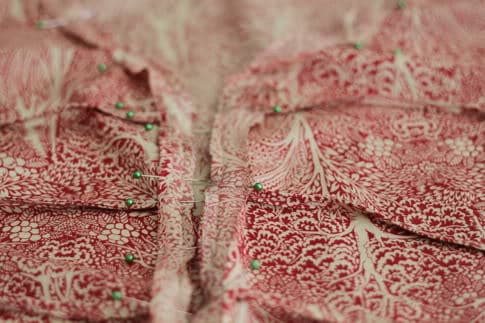
Sew in place all the way around along the fold in the bias tape. This will secure your ties.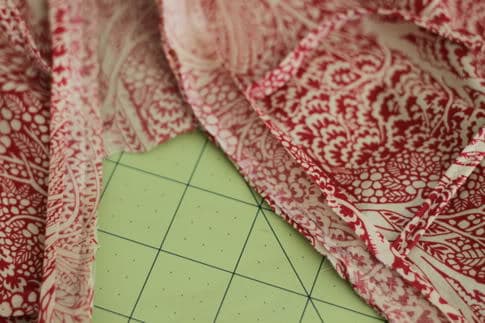
Now turn your top inside out, fold the bias tape back up, and flip it over to the wrong side of the top and pin in place. 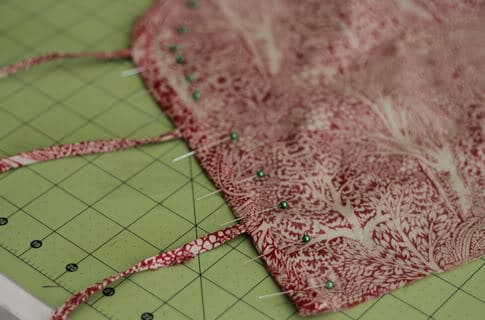
Pin in place all the way around: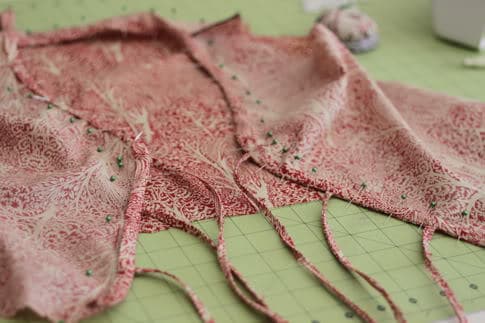
Sew in place all the way around at the inside edge of the bias tape: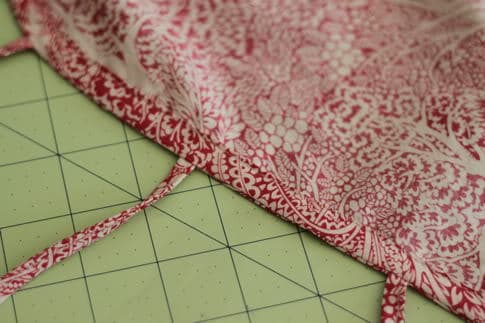
Turn your top right side out and tie your ties. Cute!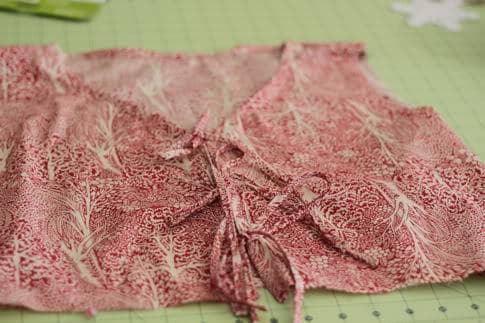
We need to finish the armholes. This is a good time to try your top on and make sure the armholes are big enough, if not, cut them a little bigger. So repeat the bias tape process around the armhole, starting at the bottom seam. So open your bias tape, pin right sides facing with edges aligned around the armhole: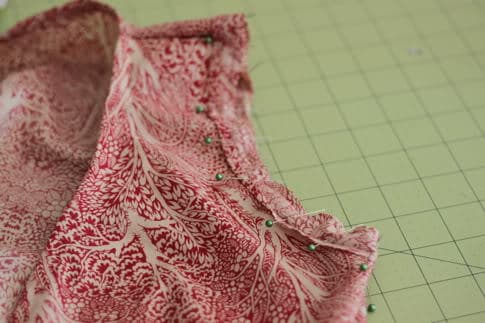
Sew in place at the fold: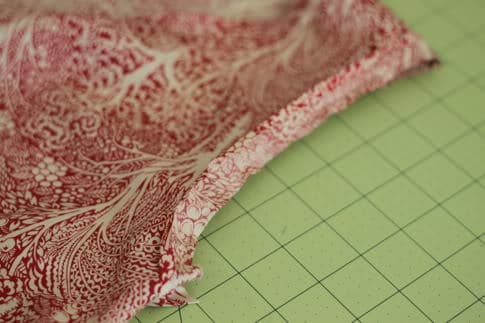
Turn the top inside out, fold the bias tape back up, flip around to the wrong side, and pin: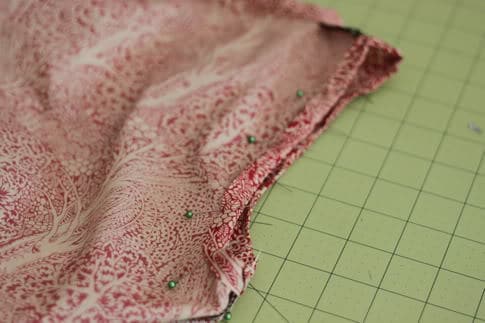
Sew in place all the way around: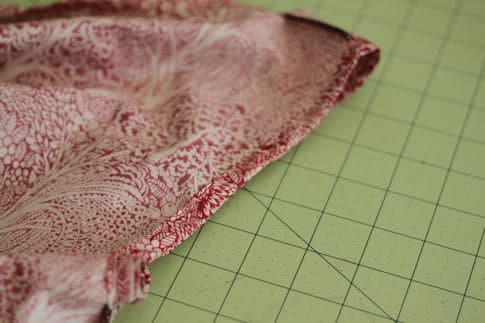
Repeat on the opposite armhole: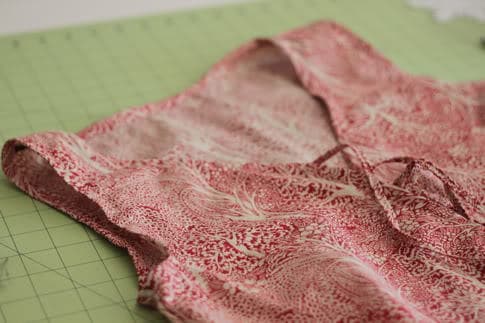
Ok, bodice complete. Set it aside.
Now for the skirt. So lay your two skirt pieces right sides facing and sew up each side, then finish the edges by serging, sewing with a zig zag stitch, or cutting with pinking shears. I folded it so you could see the seams. Your skirt will seem pretty large, but don’t worry we are going to gather it.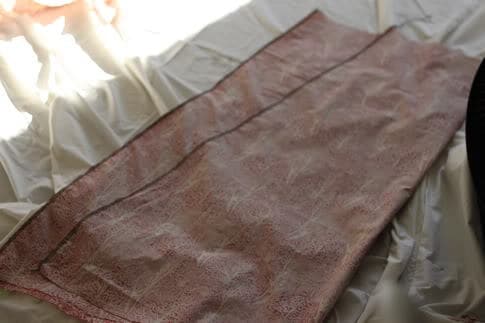
So normally you would wait until you were done to hem the skirt, but I knew it was the right length so I hemmed it first. Someone on facebook was asking how to hem with a serger, so I’ll show you really quick, but you can just hem by folding 1/4″ and ironing, then another 1/2″ and ironing, then stitching in place, or by using a blind hem stitch. Here’s what I did. I held the skirt right side up and folded the fabric 1/2″ under (to the wrong side), then 1/2″ up to the right side.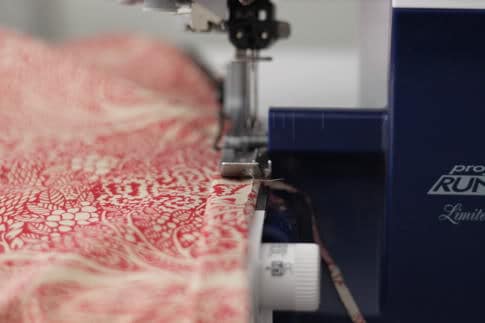
I serged it in place: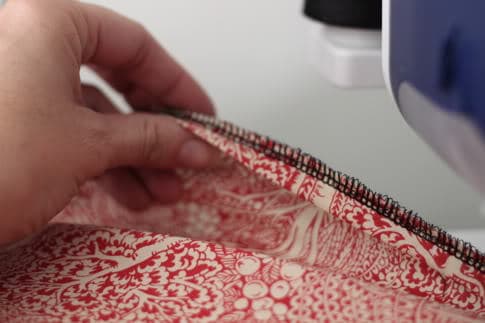
Then flipped it over and ironed it flat.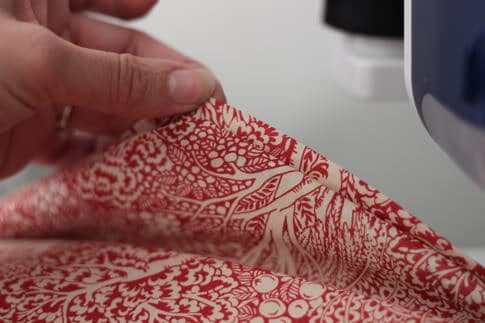
OK, now to gather our skirt. You’ll notice I serged the top edge, but that was a waste of time, don’t do it. Now you can just go right ahead and sew your elastic rows, but if you are worried about keeping a straight line you can draw first. You should draw on the RIGHT side of the fabric, but my fabric was totally see through so I drew on the wrong side knowing I would see the line as I sewed. So measure 1/2″ down from the waist, and draw eight lines 1/4″ apart on both sides of your skirt, making sure they line up at the seams: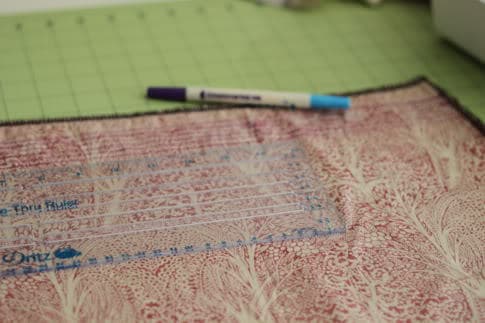
With the skirt right side out, elastic thread in your bobbin, and regular thread in your spool, sew your eight lines. Remember to back stitch at the beginning and end of each circle row so your elastic thread doesn’t unravel later on. So I did that and here is what it looks like: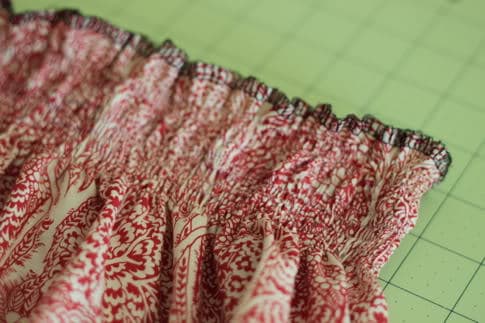
Now leave the skirt right side out. Take your top piece and turn it inside out. Now turn it upside down. Slip the bodice over the top of the skirt so the bottom of the bodice and the top of the skirt edges are aligned. 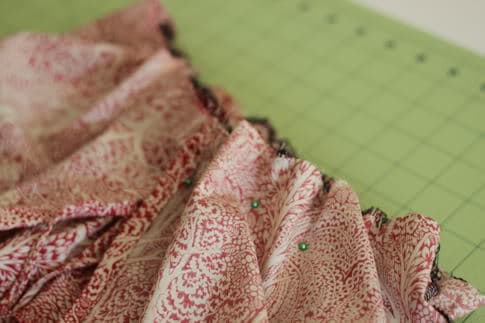
To pin it together, start by pinning the side seam of the skirt and the side seam of the bodice together at each side.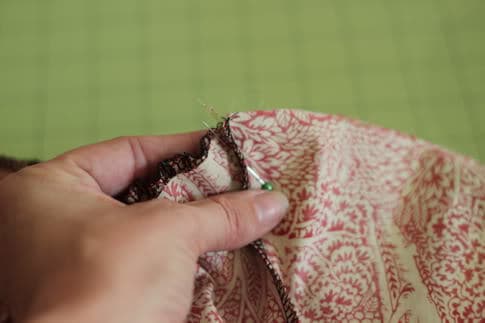
It will look floppy in the middle like this: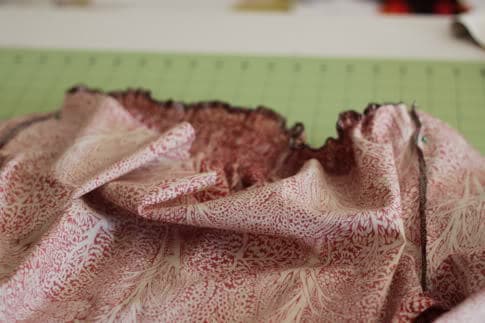
Stretch the skirt out and place pins all the way around. When you let go it will look like this: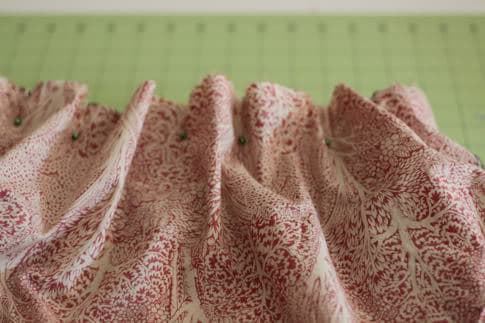
Place the pinned edge into your sewing machine and turn the needle down into the fabric and give it a stitch or two to hold it. Now stretch out the skirt as you sew, like this: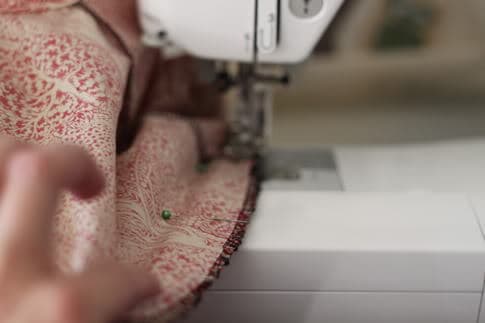
Sew all the way around. Now you’ve attached your bodice and skirt: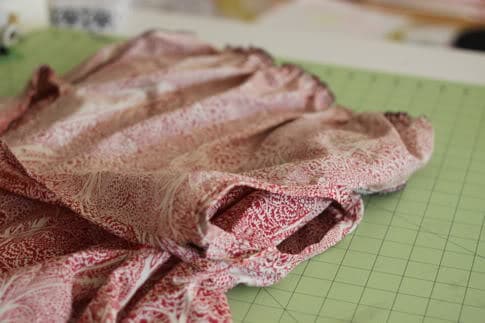
Finish the edge by serging or sewing with a zig zag stitch: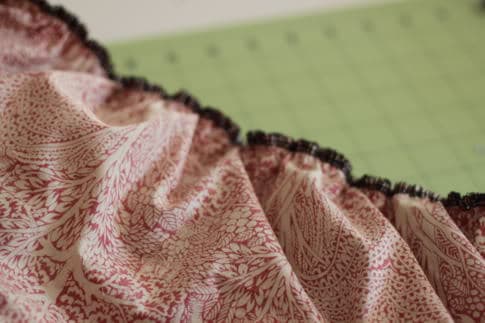
Flip your bodice up. You did it!
If you haven’t hemmed the skirt yet, go ahead and do that. You’re done!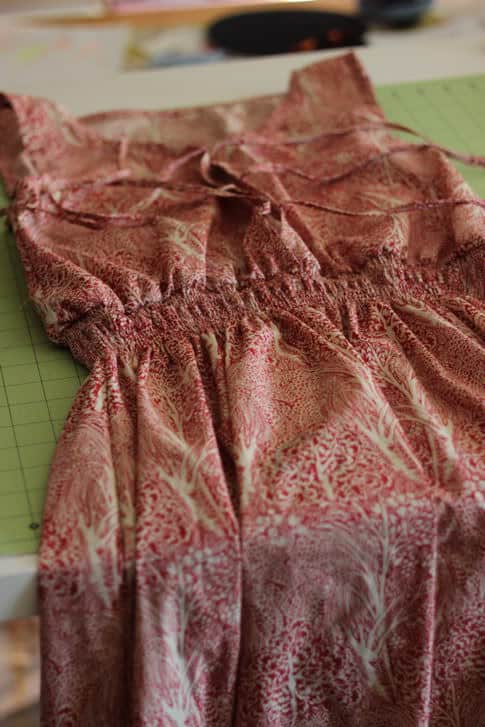
I love this fabric so much! Kind of 70’s, kind of prarie, totally soft and light. This dress would look pretty stiff with a regular quilting cotton. It would look GORG in a rayon or gauze!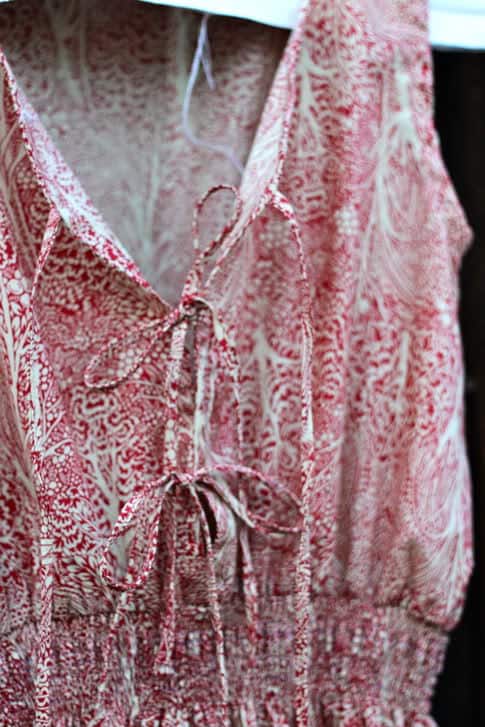
You did it! Throw your arms in the air!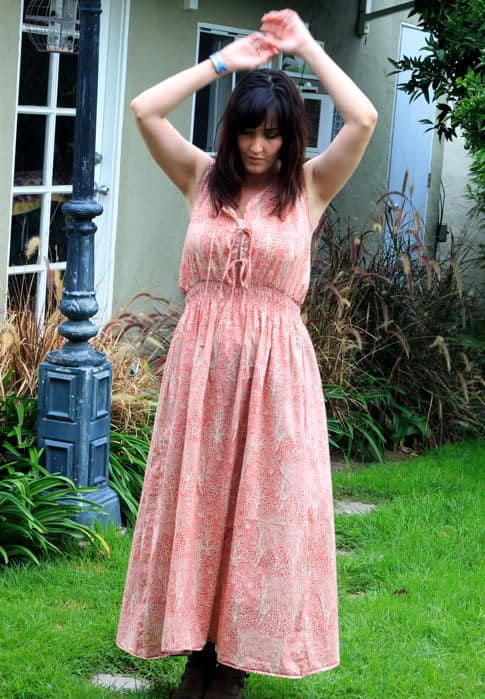
Shake your booty!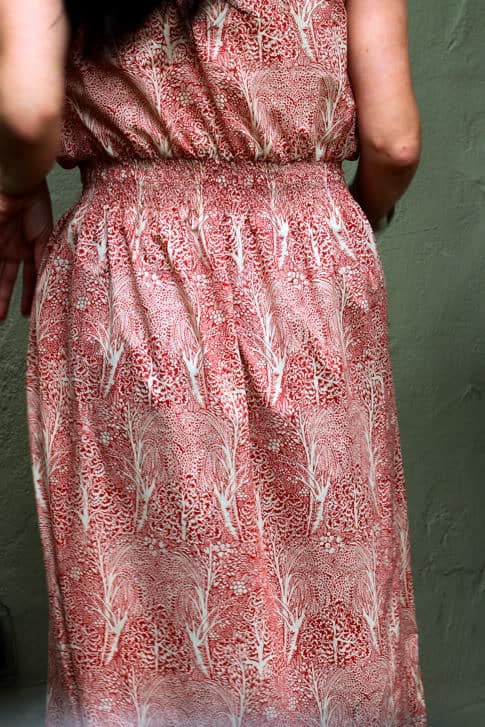
Yes, that’s my booty on the Internets! For shame! Ok ladies, can’t wait to hear what you have to say. Go easy on me!
I love that you just CUT INTO gorgeous fabric and make a dress with NO pattern!!! I don't have SKILZ like that, really. Not enough experience. It looks great – I have been watching that lawn go on sale here and there but didn't think I liked it enough – seeing it in a dress – I LOVE it!!!
It/You look amazing! I have a couple yards of the navy, it's so pretty. I'm definitely going to make something for me. A post-baby-belly flattering top for Spring, I thing. Now I just need one to use as a pattern…
Inspiring! You are hot.
I love it! And really, really want one, also with breastfeeding. Looks cool, comfortable, sexy. Brilliant! I will have to use elastic instead of the elastic thread…. my machine is ancient and won't use it. Fingers crossed it'll look half as good as yours.x
ahww come on.. don't be so hard on yourself.. you're beautiful 🙂
if only it were warm enough here to be inspired to make a pretty dress like this one!! alas, it is cold as…….(insert inappropriate phrase here)……but anyway it is super cute –no mocking!!
Love, LOVE! I want to make one for every day of the week!!
I linked to your tutorial over at Craft Gossip Sewing:
http://sewing.craftgossip.com/tutorial-modern-prairie-dress/2010/12/16/
–Anne
maybe if I start now, with an active 6-month old girl, I can finish by Spring, right? I love how this dress looks!
Today, we salute you, Mrs. "I Made a Mad-Hot Dress in One Short Afternoon and then Rocked a Photo Shoot with Unwashed Hair and No Makeup".
Most people are afraid to cut into gorgeous fabric even with a legitimate pattern, but not you. You take those scissors and slash that fabric without looking back.
Some of us cringe when we think about having to sew straight lines. But you? Ohhh, no, Mrs. "I Made a Mad-Hot Dress in One Short Afternoon and then Rocked a Photo Shoot with Unwashed Hair and No Makeup". You tell those straight lines who's the boss.
Most people cake on the makeup and rock their Texas bouffants before even an impromptu photo shoot. You don't. You shout to the world, "I have unwashed hair, and I don't have an ounce of makeup on, and I want EVERYONE to know!" You make casual look classy.
So sing a song of victory while you're throwing your arms up in the air! You made a crazy-fantastic dress AND you look like a rock star. Not many women can accomplish that with unwashed hair and no makeup.
Yes, today, we salute you.
Fantastic – both the dress and the photos! As a mom I can't seem to pull off anything more than frump – but this rocks!
I love the dress. I only wear skirts or dresses, and I prefer them long. This is a perfect summer dress. However, it could be worn in the winter paired with a cute long sleeved t-shirt, some leggings, and boots. Love it! I am going to make at least one probably more. Thanks for sharing.
Yes you rocked this dress beautifully. The unwashed no makeup thing really played up the simplicity of this dress!
The dress is great, perfect for the coming summer. I love the fabric too.
okay, just this morning i was thinking, "there hasn't been a 'hot mess mama' tutorial in a while." WEIRD! i love the dress 🙂
Very impressive work! Super cute fabric and pattern as well. I may need to make this next summer….
ay yi yi! that's you with unwashed hair and no make-up?!?! i'd take that look any day, sweetheart! you look awesome! cute dress too… alas, it looks beyond my talents of sewing. i'm now just mastering the fat quarter apron and coffee sleeve tutes. one day though… maybe one day! 😉
awesome dress! i'm a very beginning sewer but i'm sure if i had enough fabric (i'm clueless in choosing the right type) i could follow this tutorial. thanks!
Totally cute and adorable. And you make a good model. But for kicks, let's have Carleton model it as well. I mean, you do have a professional in the house. Not everyone has that.
I definitely have to try this! Super cute fabric :)…. that's going to be the hard part picking just one fabric 🙂
Gorgeous! I'm definitely bookmarking this to make myself in the spring.
…and great job modeling!
OMG! Hot! The dress and you! Jaime, you are amazing!
-Bethany
Okay I was totally obsessed with Laura Ingalls as a child and I still am as I am planning to go to a couple Laura Ingalls landmarks the next time I visit my fam in Missouri. But anyways, AWESOME dress, I don't know if I am brave enough to attempt, maybe with some cheap fabric first!
It's not NASA- love your side comments. I think you and the dress look awesome!
I love this! And i wish my hair ever looked that good.
I LOVE IT! I want one to fit my pregnant self! I love the look of boots with it! Are those the fabulous boots we found in Chicago???
Love this dress and I am a grandma. Think I could pull off wearing it? I am going to be daring a try making one for next summer. Thanks for the great idea and you look beautiful.
This past summer I was on a mission to make myself some pretty little sundresses to wear around but really didn't have much success. So glad you posted this tutorial and I can't wait to give it a shot next summer! THANKS!
I just LOVE this dress! If I had a machine I would be making this. I love that it looks so summery, and yet would be very easy to throw over sleeves and tights to for a wintery twist. Well done!
ok, that's a cute dress. can people with muffin-tops wear those sheared waists??
Love the dress, and as others have said, you look great.
Fabric, fabric, want you so bad.
Fabric, fabric, please don't make me sad.
Come home to me,
I would use you so well,
And if I messed up, you'll never tell!
Lovely fabric and such a great dress. You look great in it!
I love the dress!! I think I would change the front so it would be without ties and just slip over the head so I wouldn't need to wear a tank top underneath. I also love the fabric you chose!
gpglasgow1@gmail.com
ERM.. i ADORE this dress! My hand made dresses always are an epic fail – think maternity SACK on steroids… never ever ever flattering.
Thank you so much for the tute and dont be so hard on yourself, you look fab!
Don't be so hard on yourself. You look great! Love the dress! 🙂
You are so cute for being insecure about your modeling, but I think you did a great job. The dress turned out lovely. Makes me long for a warm summer evening with friends in the garden, sipping something cold and laughing together.
You are beautiful, no make-up necessary. 🙂 I love the dress and the fabric. I wouldn't look good in it, but I'd like to make it for my daughter. She'd look great. Thanks.
Oh my goodness! I have to try this. It is my kind of dress!
lag110 at mchsi dot com
holy heck girl! can I just send you material and pay you to make me one, or better yet- buy this one off you? really cute! wish I had ANY sewing talent! I would TOTALLY make something like this, instead, I am off to shop for something similar,lol!
Jenn Post
noblekatt(at)hotmail(dot)com
I love the dress and can I just say that you look great without makeup so don't even stress… And this may be weird to say but you have GREAT eyebrows… Haha… Yes that is just a wee bit weird to say.
When I see the word "prairie" I must investigate further because I too was a Laura Ingalls Wilder fanatic. (My nickname in 5th grade was prairie girl because I insisted on wearing a bonnet and prairie dress my mom made me to school). Fortunately, I did aquire a somewhat better sense of fashion as I got older (although my husband might argue that point) Your prairie dress is much snazzier for the 20 something mom I am and I will be making it in 2011! PS- your modeling skillz r all good!
Too cute! I love the prairie look, but it's not outdated at all. I might have to get a sewing machine now *sigh*
Blessed Be
I made this out from a pumpkin cotton gauze, but substituted a raglan-sleeve bodice for the sleeveless one, and shirred around the neck and sleeves.
I'm almost 8 months pregnant and this makes for an awesome, super-comfy and cute maternity dress. With the stretchy neck, I can wear it after the baby's born, and just pull 'er down for nursing.
My husband is very hard to impress, and he thought the dress looked GREAT and urged me sew some more. (c'mon, how often does THAT happen?)I've already got the fabric lined up to make 4 more dresses so I can be cute and comfy all summer.
Winding the elastic thread onto the bobbin while stretching it worked great for me with my newer auto-tension machines.
Thanks so much for the awesome tute.
I completely adore this dress ! Style,fabric,details all amazing,and it looks Great on you . I want one, Badly. If there is anyway I can face my terror of trying it I truly think I would live in this dress, : )
Thanks so much,
Elise ox
I love, love, love this dress! Hopefully, I'll be able to make it when I find the right fabric. Your pictures are gorgeous! They look cool and breezy, just like the dress! I'm amazed how flattering the dress is! Can't wait to make it! Thanks for the tutorial!
I love your dress. You did a fabulous job making the instructions easy to follow. Give yourself a big hug!
I can’t wait to try this out!!!! Usually I avoid making clothing for myself, but I love this!! Hopefully I look as nice as the model in it 😉
love this dress! super cute. and had you not said anything I would have believed that your hair was just a little damp. also you are beautiful with out make up! wish i was that pretty without mine. my kids let me know what they think though. lol. great work!
That is one of the sexiest dresses I have ever seen. Your hair looked great, I would love to look like you so don’t knock yourself down. Will probably take me 4 or 5 yards to make this dress but I am going to give it a try. I might have to alter the waist cause I don’t have one. This is a beautiful womans dress for woman.
I think you look amazing! I can’t wait to try making this dress! It’s gorgeous!