


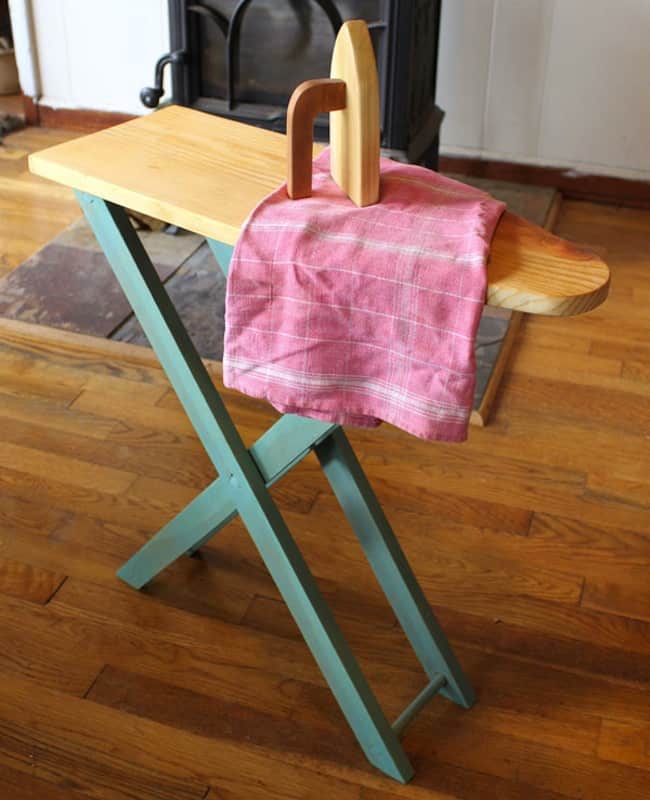
It is not very often that we have tutorials involving wood, drills, and hammers here on Prudent Baby but when the chance comes, we love to share them with you. Who is totally loving this child-size ironing board right now? Me too! Over at Duo Fiberworks sisters Laura and Katie are making all sorts of wooden and felt toys for their little ones. Today they will walk you through the process of making this adorable ironing board. Make sure to stop by their blog to check out their many other tutorials like felted milk and juice bottles, carved carrots, and felted knit boats. Take it away ladies…
Child-Size Ironing Board
Here’s my first tutorial for a larger woodworking project. The ironing board folds flat for storage and is a sweet addition to any toy kitchen. It’s really pretty simple to build, the trickiest thing was cutting the legs at exactly the same angle and length. I am not accomplished at working with wood and I managed to figure this all out, I bet you can too. 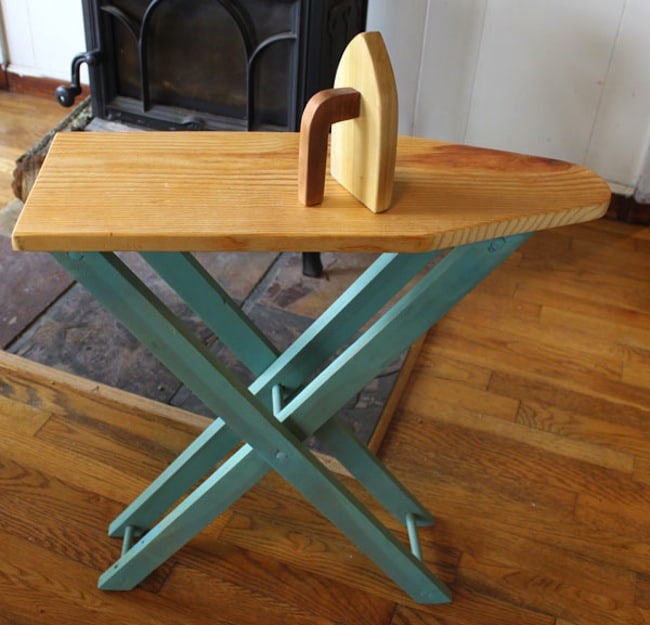
First, here’s a pdf materials list and cutting plan. So, go ahead and download that. Then, follow along below for the steps to construct the ironing board and iron.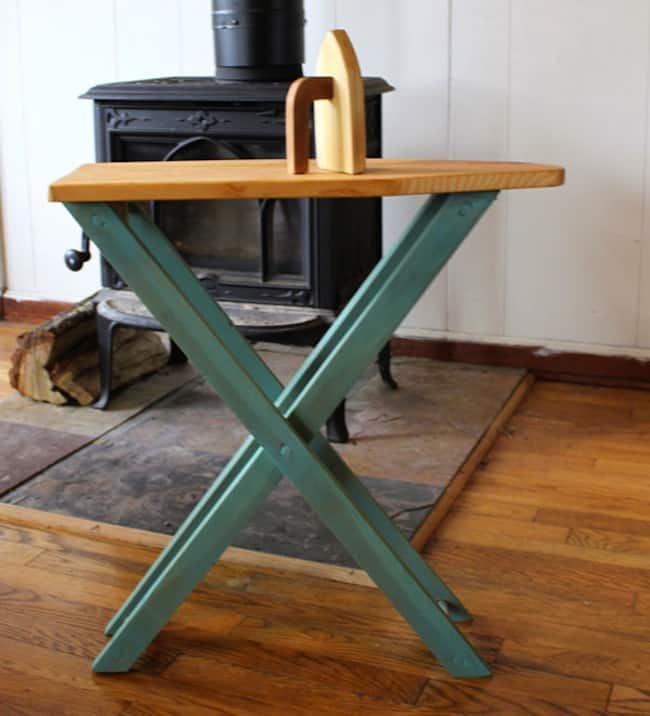
Please note, some of the photos vary slightly from my written instructions or measurements, that’s because I was winging it and designing as I went along. I streamlined the process for you.
Tools:
Jigsaw
Orbital Sander with 80 grit, 150 grit paper. You could sand by hand if you prefer.
Hand Saw
Hammer
Drill with 1/2″ spade bit
Square
Flaxseed oil or beeswax polish
Cut out wood pieces: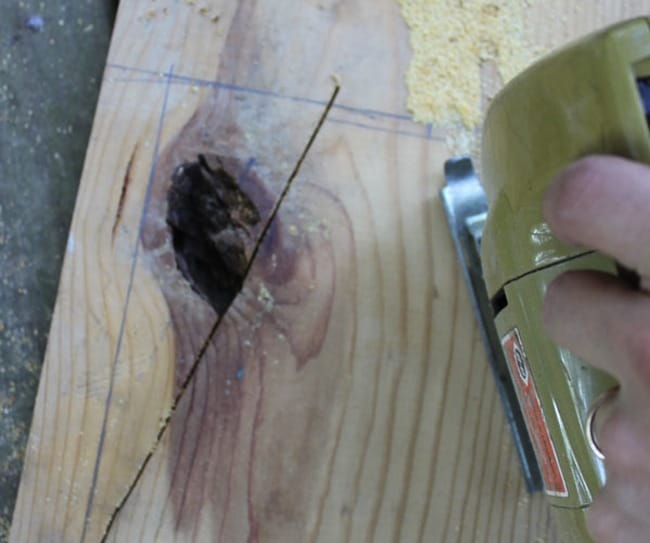
Cut the legs to length. Using your square, mark and cut the angles on the legs-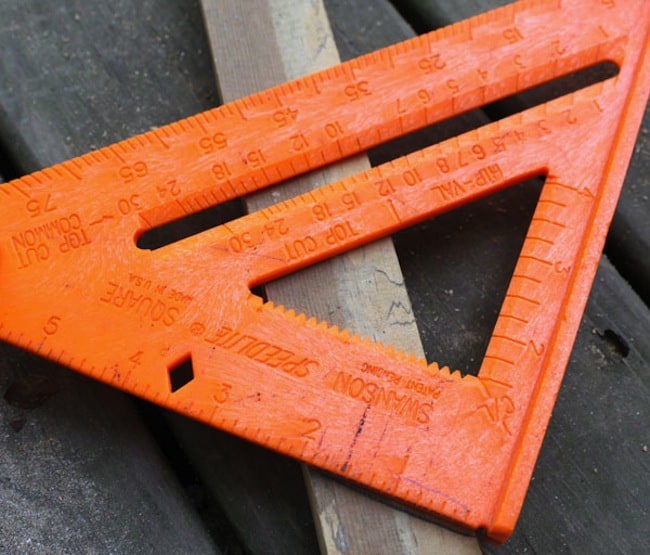
Then check to confirm they are the same angle and same length. Mine were a bit off and I had to add a shim later. I used recycled lumber and didn’t have anymore 1×2’s, hence the crack. 
Drill holes on legs, I clamped mine together and drilled through all four at once. 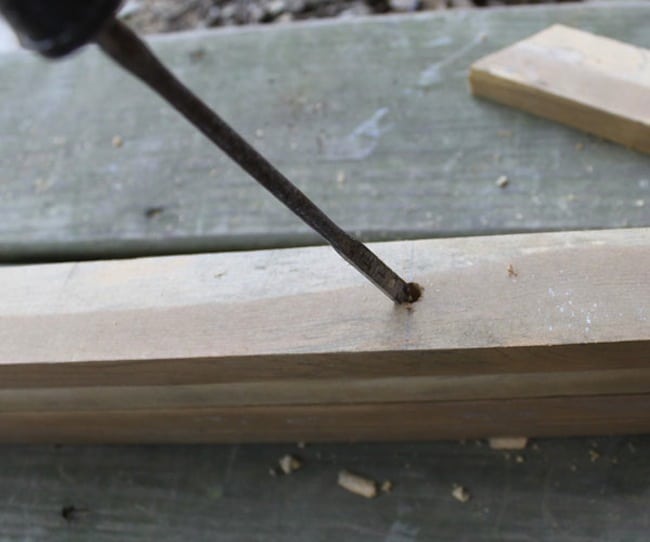
If you would like painted legs, now is the time to paint them. Hopefully you have a helper who can paint for you.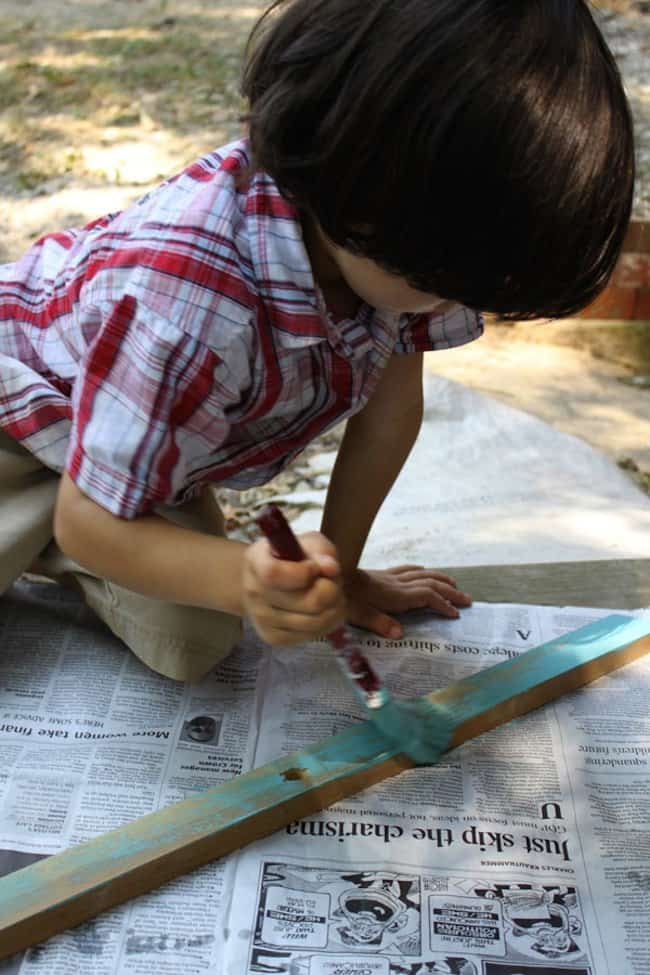
We used interior latex, and I wanted a translucent look, so I wiped the paint with a rag immediately after he was done painting. Also paint the dowel. Sand the edges of the ironing board top to round them. I also sanded the top and bottom with 80 grit then 150 grit sandpaper for a super-smooth finish.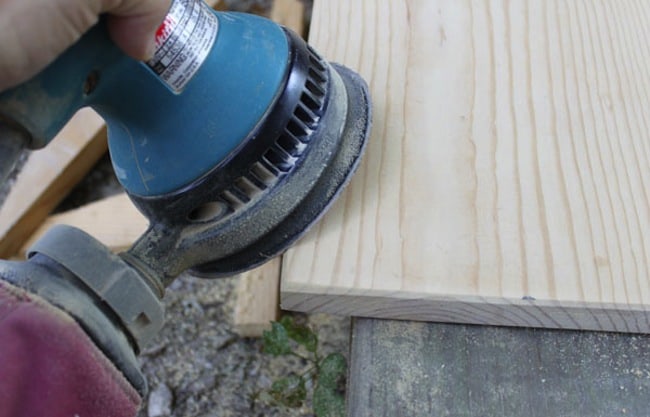
Assemble legs. Look at photo for how legs should be laid out. See how the angles are different for each “set” of legs? Start with the center dowel, then glue the dowels at the bottom of the legs. You can glue the dowel for the narrower legs, but just dry fit the dowel for the wider set of legs, you’ll glue that later. The wider legs will be about 6″ wide from outside edge to outside edge, and the inner legs will be about 4 1/4.”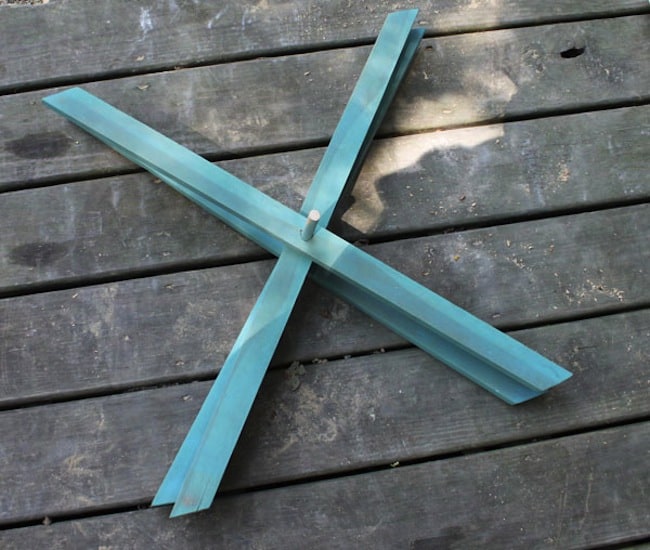
Using a high-quality wood glue, glue the hinge and stop block into place. The legs measure about 18″ wide when the table is assembled, so I had a helper hold the legs at that width, then marked on the bottom of the ironing board top where the hinge and stop block should go. I centered the legs under the top. Use plenty of glue and allow to dry overnight. 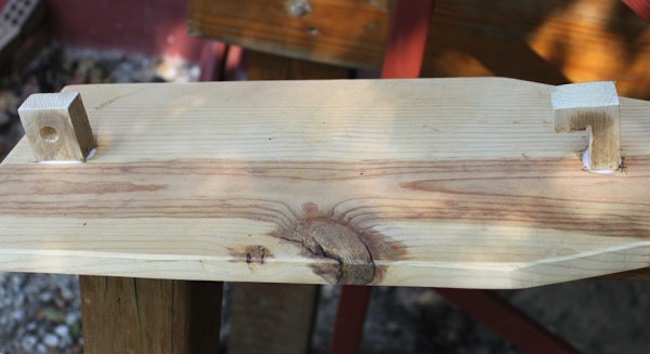
Now, slide the dowel from the wide pair of legs through the hinge. 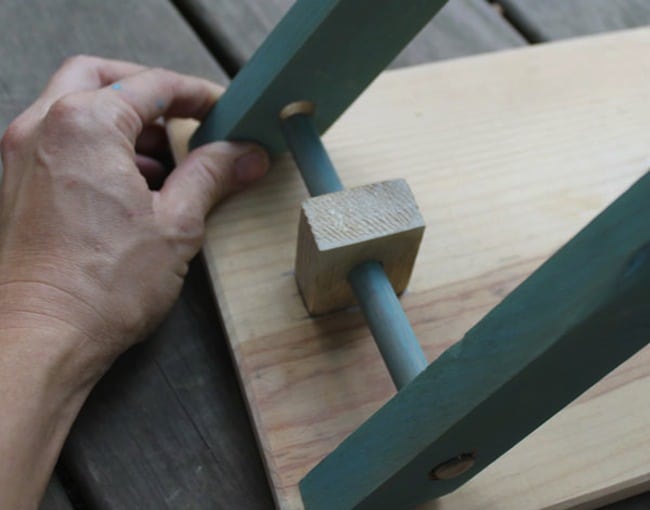
Prop the other top dowel behind the stop block. Sand the dowel ends and touch up the paint.
Oil the ironing board with flaxseed oil or finish with polish. Done!
Now for the iron, it’s very simple.
Cut out shapes- 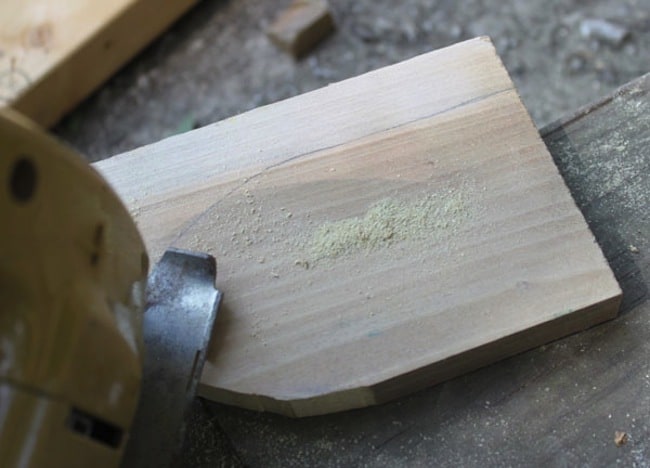
I used poplar for the base and cherry for the handle, but you can use the left over piece from cutting out your ironing board. Sand the top, bottom and sides. Round the edges of all the pieces, just like you did with the ironing board. Then stand the iron up and place the handle into position- I like the handle to rest on the table when the iron is vertical. Mark with a pencil.
Glue the handle in place, allow to dry overnight.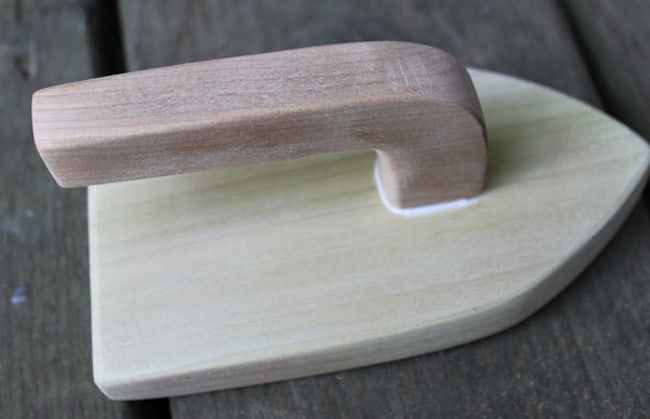
Finish with oil or polish. Your iron is done.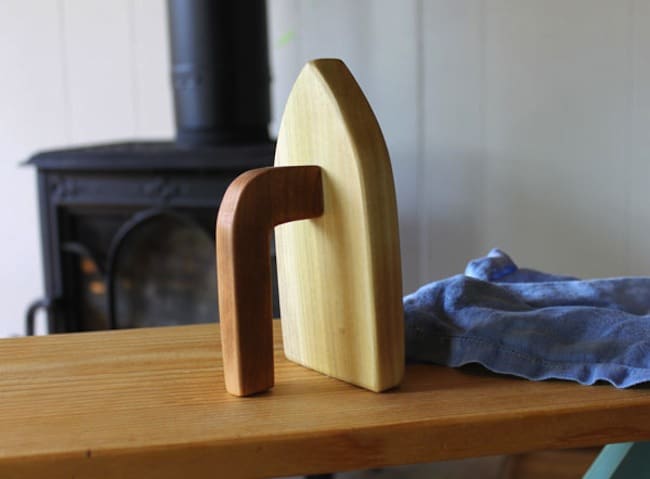
Please let me know if you have any questions about this tutorial, I hope it was helpful! I’d love to see photos of your ironing boards, leave a link in the comments if you make one. 
Do you think this could also be accomplished by using a folding tray table and cutting down the legs to the proper height and trimming the table top?
Maybe! If it works, let us know.
About how long did it take you to finish?
This project took two afternoons of work. I had a 5 year old helper and was designing as I went and working on my deck- not a workbench. So I'd say one good afternoon of work or two evenings should be all you need to make one. Good luck!
What a great DIY! Thanks for sharing <3
thanks so much! I just made a new cover for the wooden ironing board my kids have. They have outgrown it, but I have a new niece who will be playing with it, I will get started on that cute little iron right away.
The pdf page for materials and instructions will not work for me no matter what I do! Help please.
What are tne dimemdions for the ironing board?
The link for the pdf is no longer valid for the materials and cutting list 🙁 Is there another source available?
The PDF plan not available anymore any chance mailing it to me please
Several years ago I printed the plan sheet out and found it in my workshop binder tonight. I have not made this yet, but plan to in the next couple weeks. Here are the dimensions:
IRONING BOARD BASE (1×10 board)
24×8” (3” wide at the tapered nose)
LEGS (1×2 board)
28 3/4 long (x4)
35° top and bottom
1/2” DOWELS
Three at 6” long
Two at 4.25” long
STOP BLOCK (on bottom)
1.5 x 1.25” (notched)
HINGE (on bottom)
1.75 x 1.75” with 1/2” hole in center
IRON
6 x 3” (use scrap from 1×10)
IRON HANDLE
4” long
1” at the base where connects to iron
.75” handle after curve
Do not buy the toy make in home with house equipment. thank you for sharing.
Could you please send the materials list and cutting plan? I’d love to try and make this.