Welcome to the first tutorial of a week full of beautiful ribbon projects. It’s Ribbon Week, sponsored by The Ribbon Retreat.
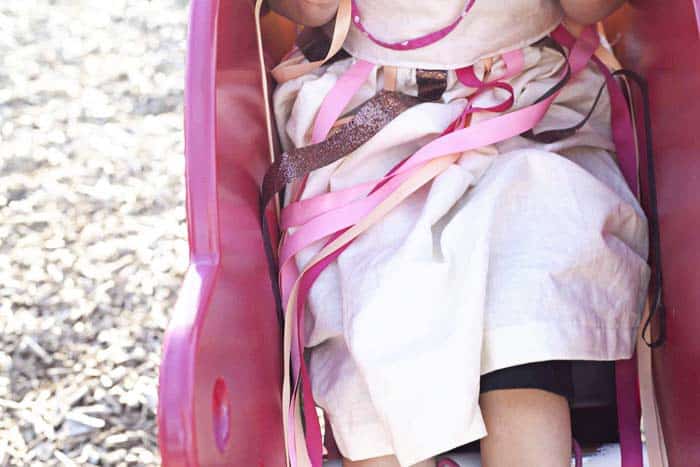
This ribbon dress is inspired by a dress that I brought home from Mexico for Scarlet. She loved it so much that when Jacinda and Clare came to visit LA, we spent an afternoon in the studio whipping up these beauties, and eating macarons, and drinking champagne (just the mommies, of course – like we would share our macarons).
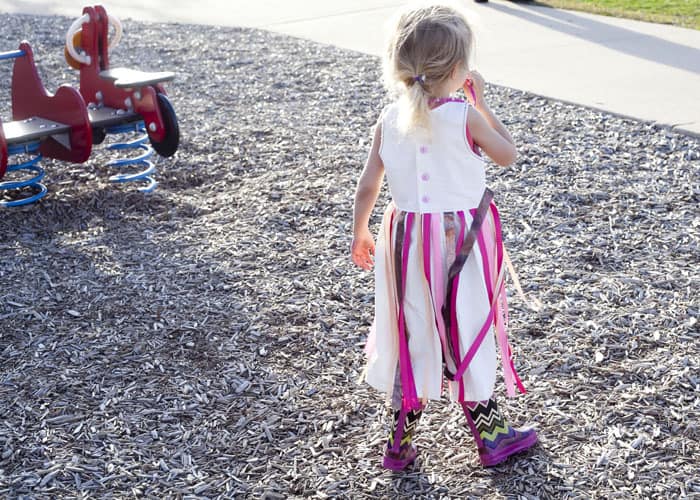
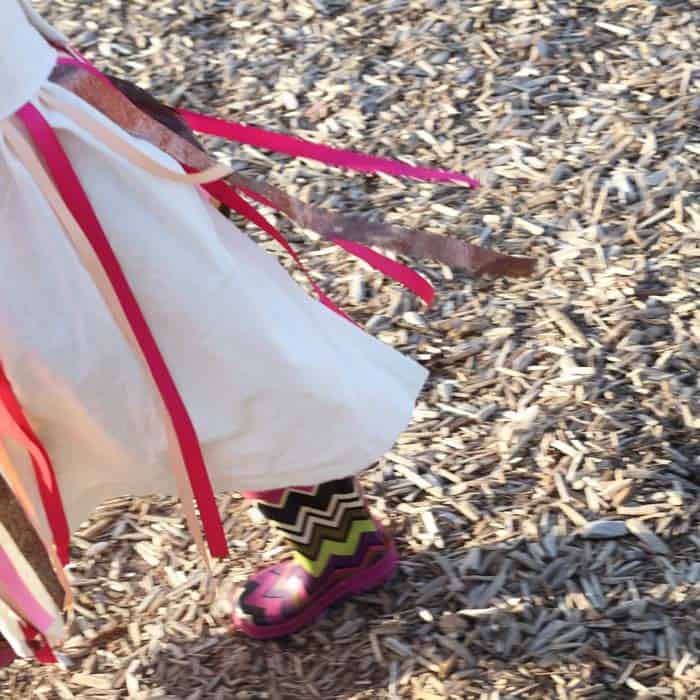
Just in time for beautiful Spring breezes and Easter, it’s The Ribbon Dress! Let us show you how to make one.
Download and cut out our pattern. This fits about a 4T, if your child is a different size, use the pattern and one of your kids t-shirts as a guide to create your own pattern.
Trace it onto your fabric and cut out as directed. We used Robert Kaufman Essex Linen in White from Fabricworm.
If you like the look of our dress, pick up some Chocolate Chip, Light Coral, Hot Pink, and Wild Orchid ribbon in Grosgrain or Satin from The Ribbon Retreat. I think my next combo will be Tropical Lilac, Lavender and Millennium Silver. We used a sparkly ribbon on ours but it didn’t wash very well. Stick to satin if you want some shimmer.You will need about 15 – 20 yards.
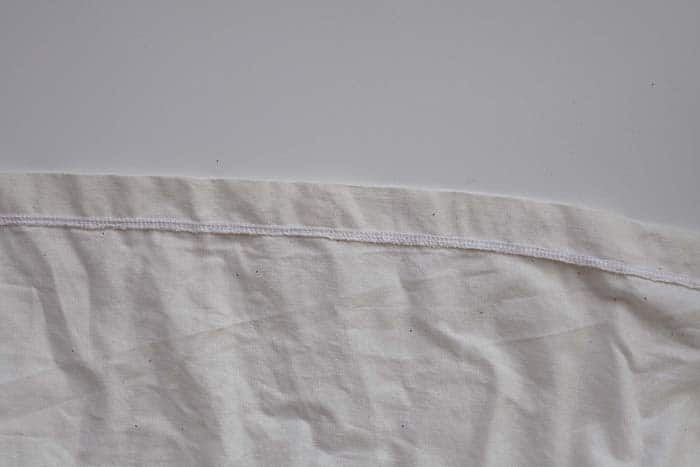
For the skirt, go ahead and hem one long edge and set it aside.
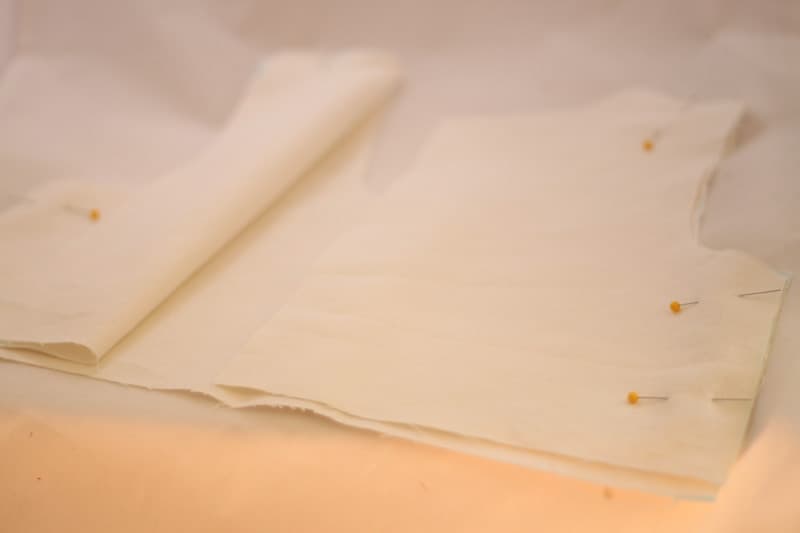
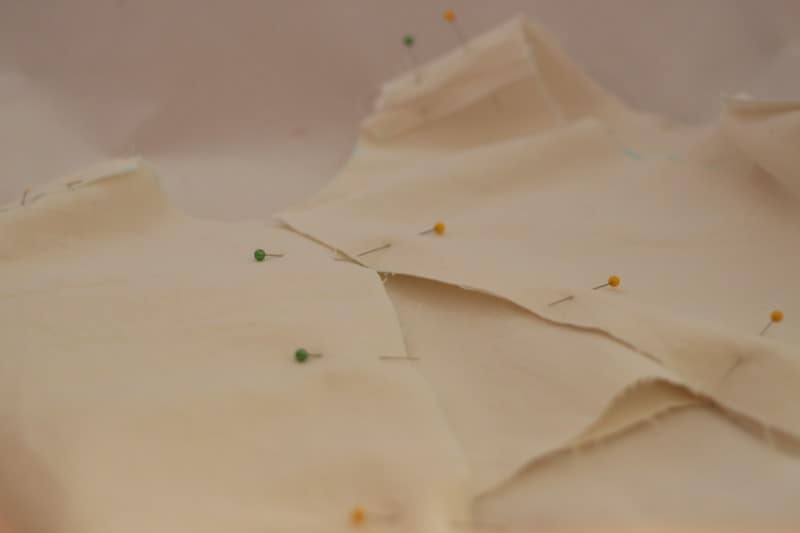
Now let’s make the bodice. Lay one front piece right side up, and a set of two back pieces right side down on top. Pin at the shoulders and up the sides.
Sew the shoulder and side seams with a straight stitch, the iron the seams open:
Repeat with your other set of one front and two back pieces.
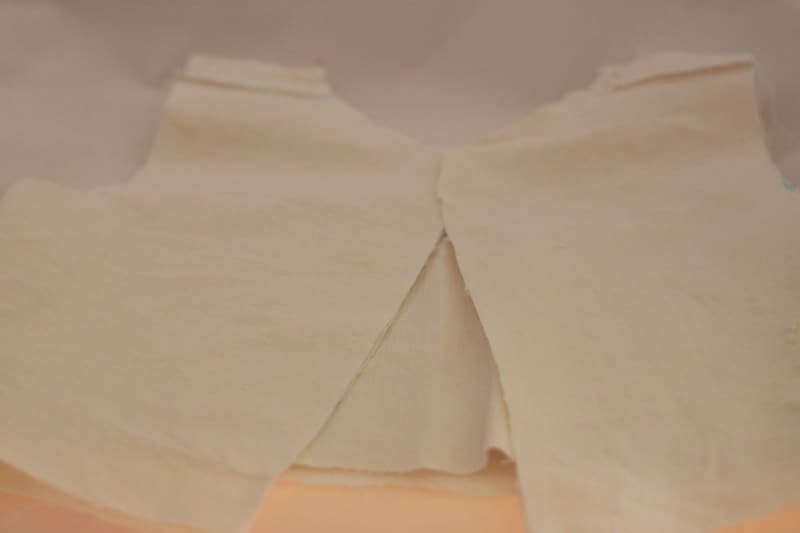
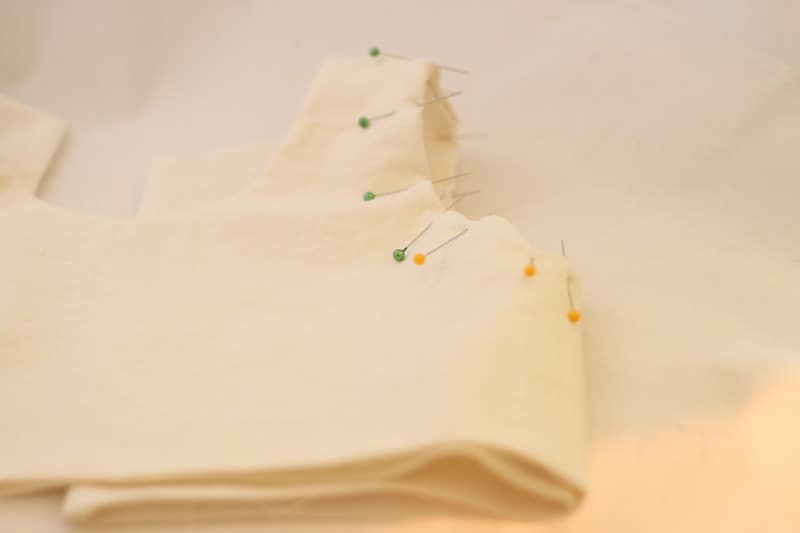
Now slip one set into the other with right sides facing, and pin. Start by aligning the shoulder seams and pinning there, then pin all the way around the back opening and neckline.
Sew together, starting with one side of the back opening, up, around the neckline, and down the other side. Do not sew the armholes or the bottom of the bodice.
Now along the bottom edge of the bodice, fold each side in 1/2″ and iron in place. (optional: iron a strip of heat and bond tape inside the bottom bodice hem and then activate it with your iron after the dress is complete to add security to the ribbons)
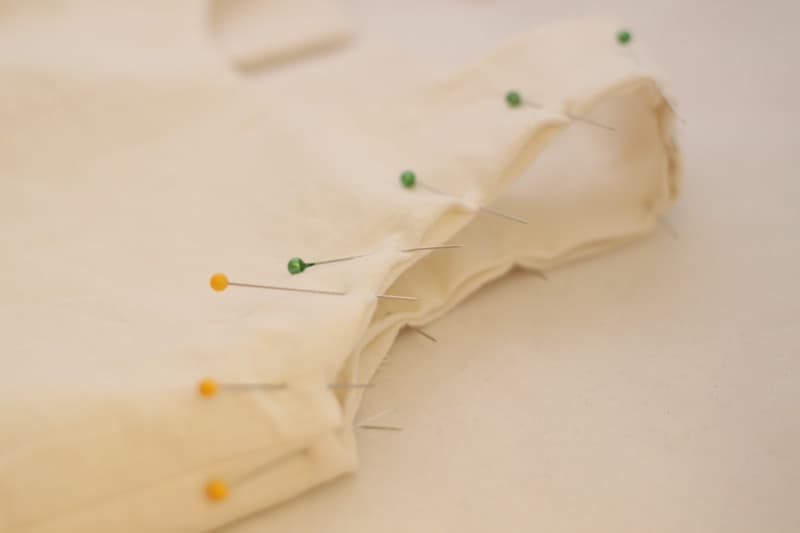
At the sleeves, fold each side to the inside 1/2″ and carefully pin:
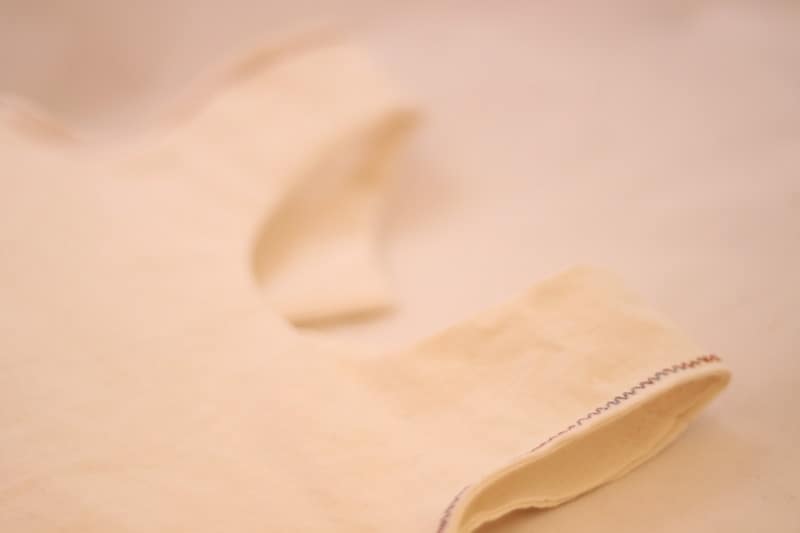
Sew a decorative stitch around each armhole:
Now your bodice is assembled.
Open it up so the bottom edge lies flat. Sew a basting stitch along the top of your skirt (a straight stitch set to the widest width your machine will allow, usually a five), and gather it so it is the same length as your bodice. Slip it inside the bodice just to cover your line of basting stitches.
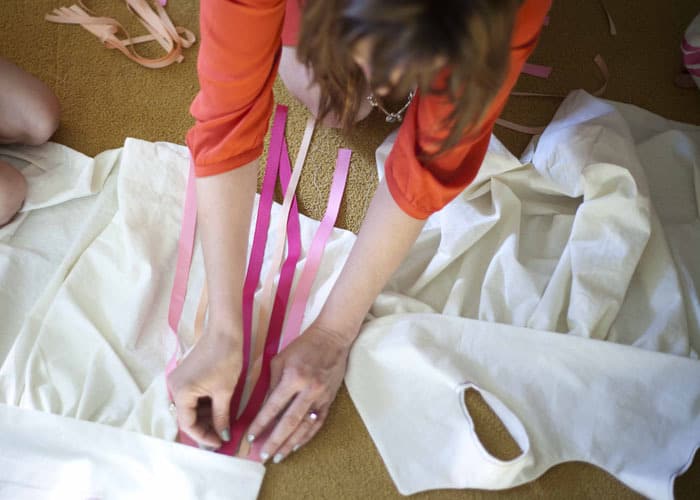
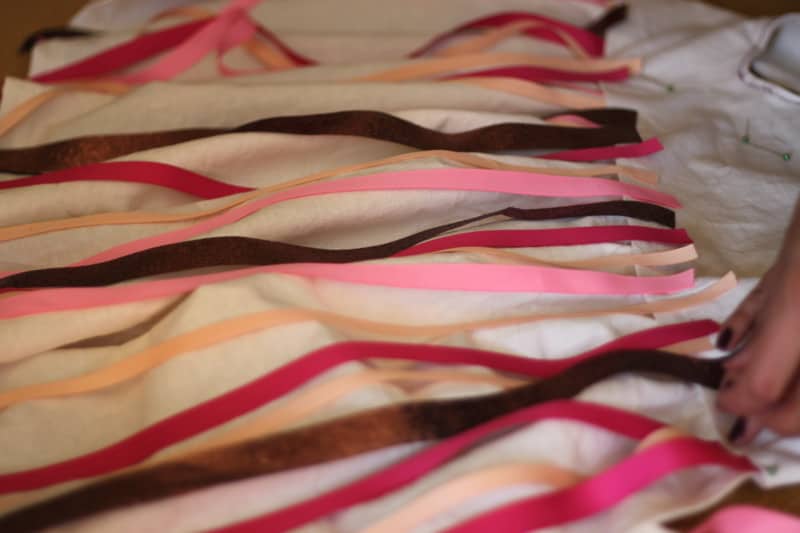
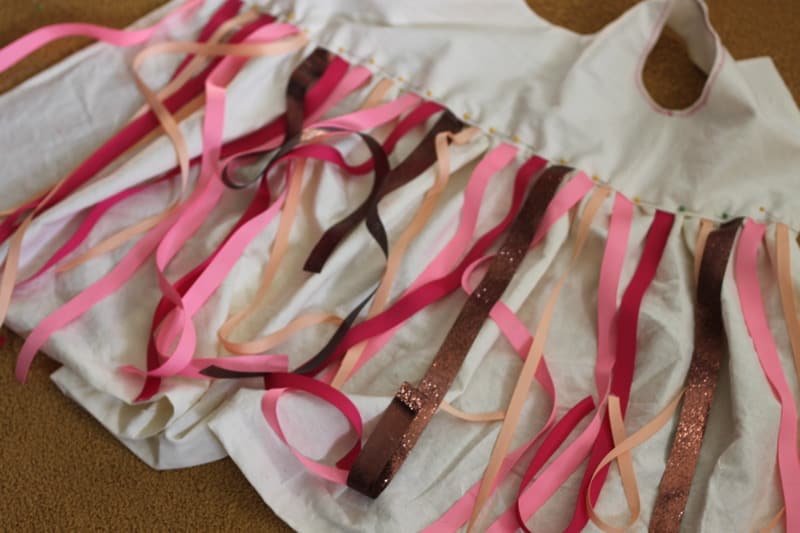
Now grab your ribbons! Artfully arrange the ribbons, laying them on top of the skirt with the edges just inside the bodice by 1/2″.
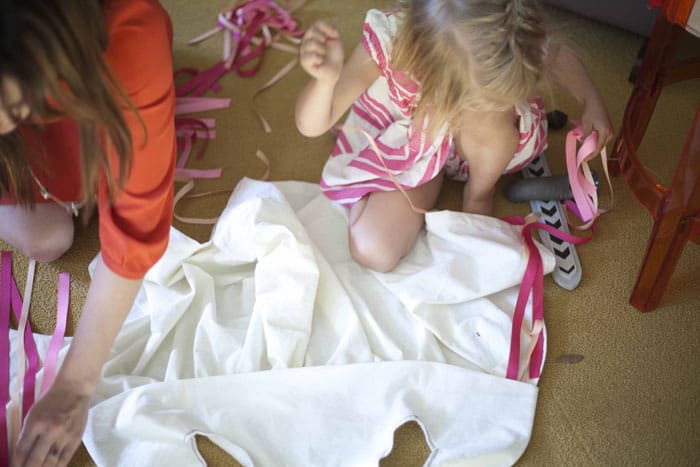
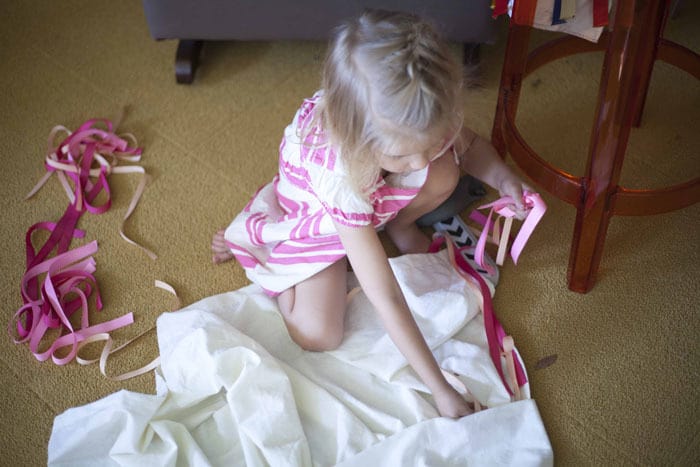
This is a good time to enlist some helpers.
Keep laying out your ribbon until your dress looks the way you like it.
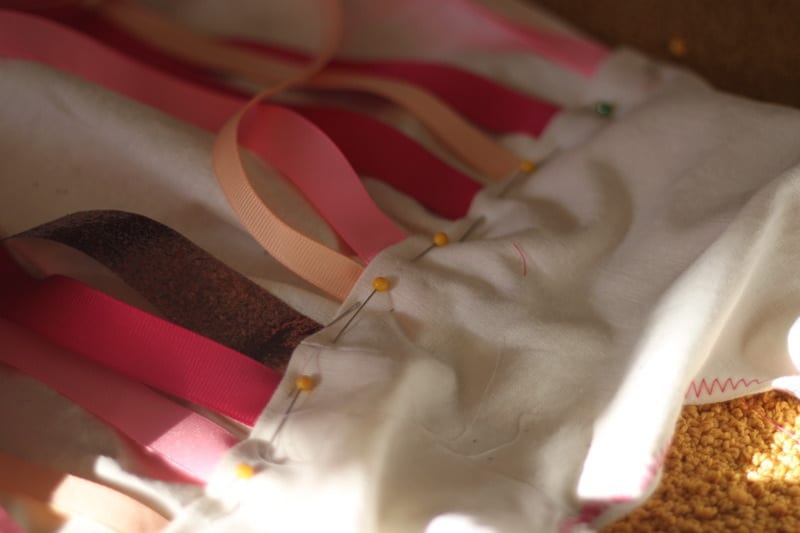
Pin the ribbon and skirt in place.
Sew in place with a straight or decorative stitch. This will close the bodice, encasing the skirt and the ribbon.
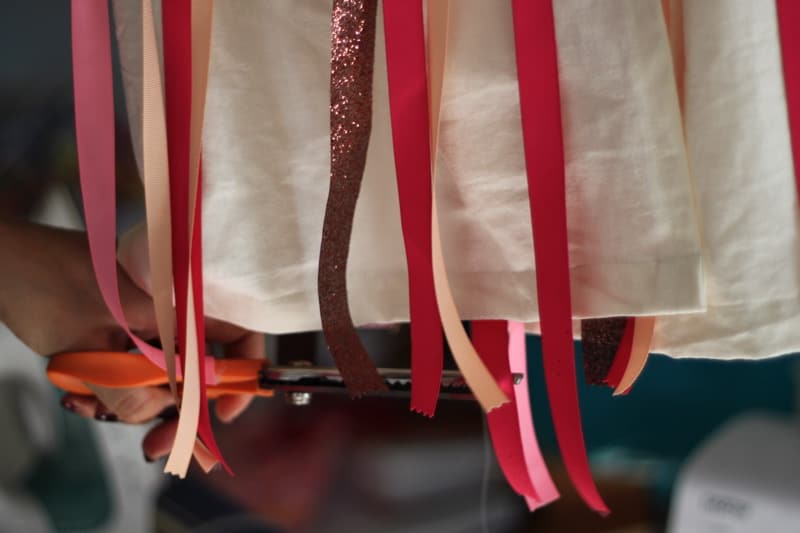
Trim your ribbon with pinking shears to prevent fraying.
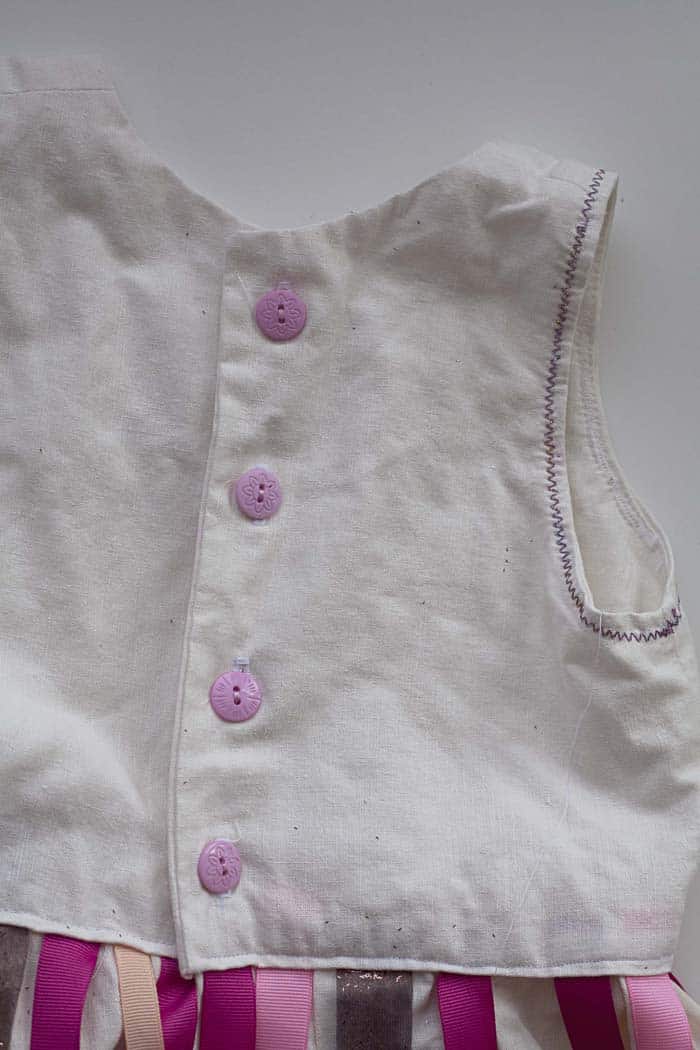
Now you’ll need to sew buttons and buttonholes up the back of your dress. See our video How to Sew A Buttonhole if you need a primer.


very cute!!! how does the ribbon hold up in the washer? is it a certain kind? i think i will need to make one for my oldest daughter who loves to twirl
For most ribbons, you can melt the ends so they don’t fray. Just use some sort of flame (candle, match, fire starter, etc) and hold the ribbon just close enough to melt the edges. Too close and it will burn.
Ohhhh! I think I shall go to LA and buy some ribbon. and other things. Like HUGE pompoms. AND tiny pompoms. Yes. I shall.
If you attached the ribbons to a belt/sash instead of directly to the dress, then you could use whatever ribbons you like and not have to worry about how they’ll hold up in the wash 🙂 It would also give you the freedom to make belts/sahes in different color schemes and use them interchangeably!
thank for the wonderful dress!!
In my experience making lazy days skirts from Oliver&S, grosgrain holds up well to much washing and wear. However the satin ribbon looks terrible, it gets snagged and puckers, stick with grosgrain and it will be fine!
Agree Laura, thanks for answering!
When I download the pattern .pdf, it is only the dress front. Is that correct or am I missing something? Also, do you just finish the skirt edges up the back and leave them open, wearing leggings or a slip underneath, put buttons on it, or stitch it together with a placket? Love this beautiful little dress – thank you so much for posting!
Hi holly-it’s not a 2 page PDF? I will check it. I was pretty sleepy when I uploaded the file.
Yes, ours are open and the girls wear leggings or shorts but of course you could easily add more buttons or a seam.
Glad you like it. It’s a big hit here!
Holly-stop the presses! that was indeed the wrong file. The correct pattern is in there now. Thanks!
fun tutorial! I made a dress a while ago that is very similar-but I used knit, and instead of the ribbon, i used strips of t-shirt ‘yarn’ with a knot on the end— the result was just enough weight for some serious twirling! holds up awesome and is an easy upcycle too!
These ribbon inspired dresses from Mexico are adorable.