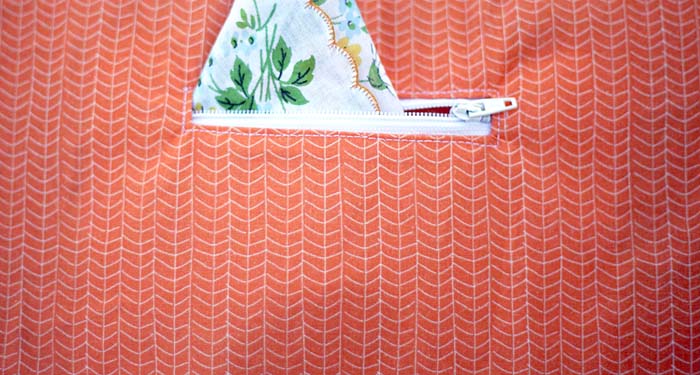
This morning we are going to give you the 101 on sewing a simple zipper pocket. Very handy. Try one today on a bag or clutch or jacket. Anything that needs a zipper pocket.
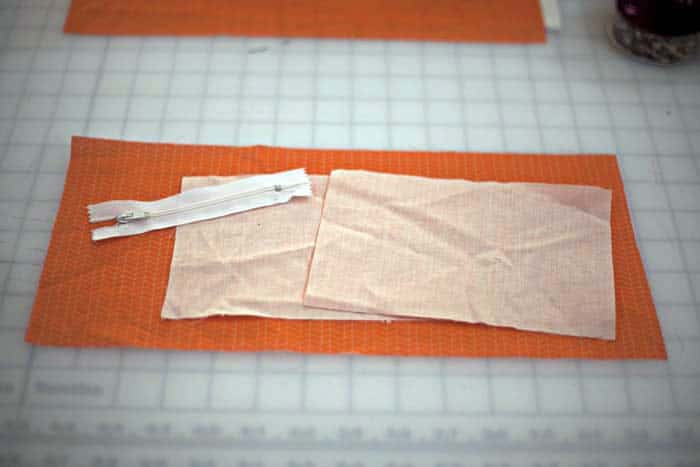
You will need 1 large piece of fabric, this is the surface to which the zipper will be attached. Mine is some of my own Texas Modern Herringbone. In this case it’s the lining of a purse, approximately 10″x14″. You will also need a zipper (this is 4″) and two pieces of fabric that will be the two sides of the enclosed pocket. These were 4″x6″. I used a white zipper but this is a lovely opportunity to add a pretty pop of color with a brightly colored zipper!
You will also need three pieces of single sided (the kind without paper), light to mid-weight interfacing. 2 the size of your pocket, and 1 the width of your pocket x 2″ tall. This smaller piece is optional but helps make your pocket stronger.
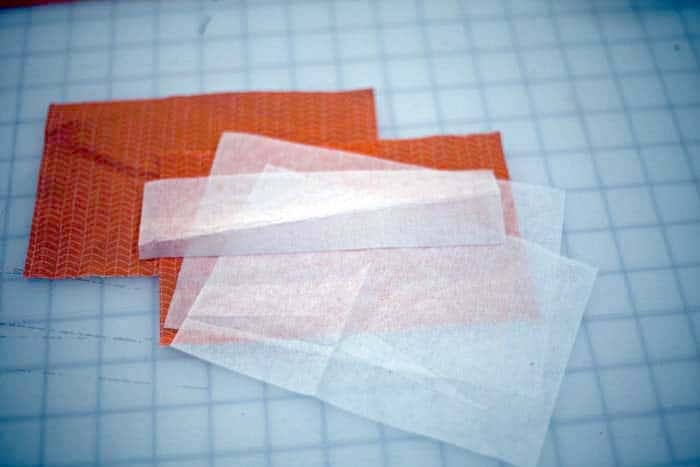
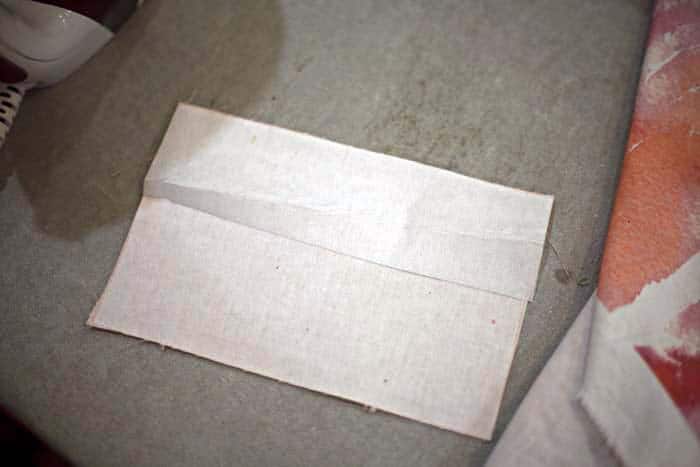
Iron one of the pocket-sized interfacing pieces to the wrong side of the pocket. Directly on top of that, iron the 2″ piece along the top edge.
Iron the second piece of pocket-sized interfacing to the wrong side of the second piece of pocket.
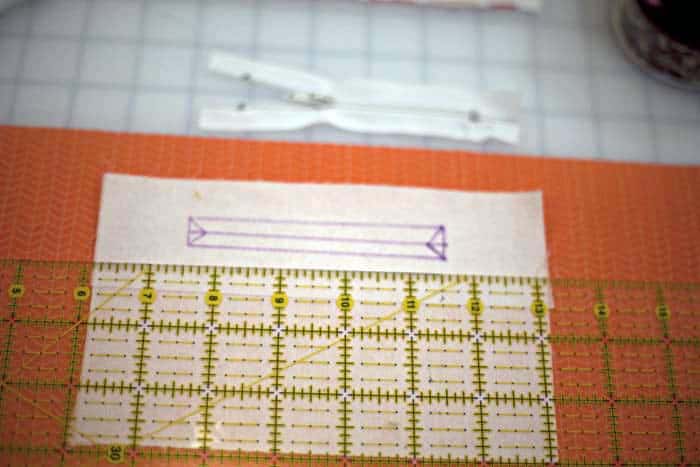
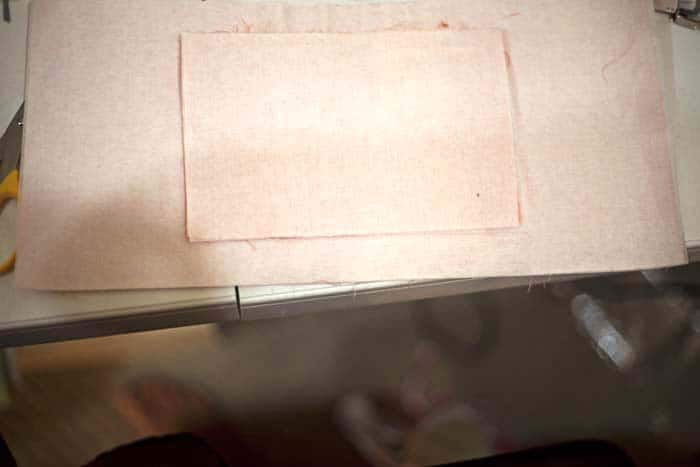
Directly on the double layer of interfacing, about 1″ down from the top, draw a box the width of your desired zipper opening, here mine is the advertised zipper length, 4″. The height is 1/2″ (make sure that it is narrower than the width of your zipper tape.) Draw from the 4 corners to the middle line as shown below.
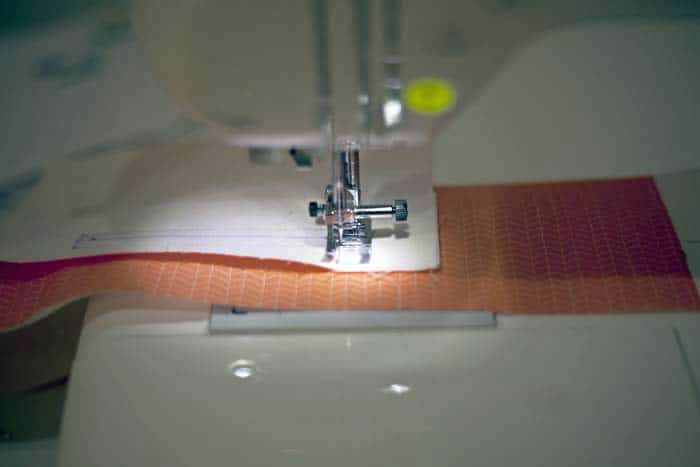
Position your marked up pocket piece right sides facing with the larger fabric. Sew on the outer line of the box all the way around.
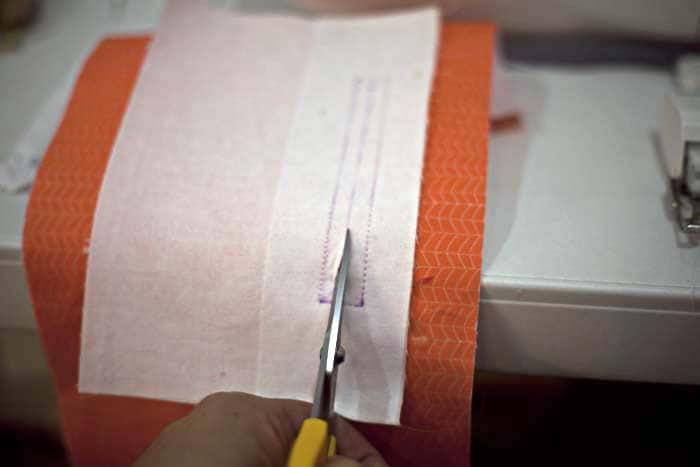
Carefully cut the center line through all layers from point to point.
Also cut from center line out to all 4 corners being careful not to snip stitching.
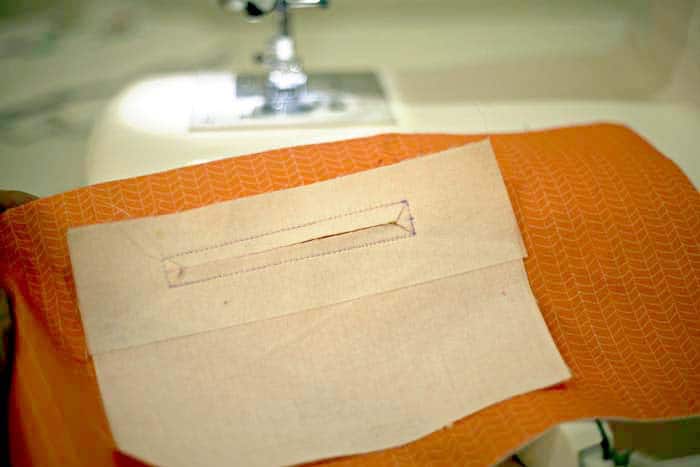
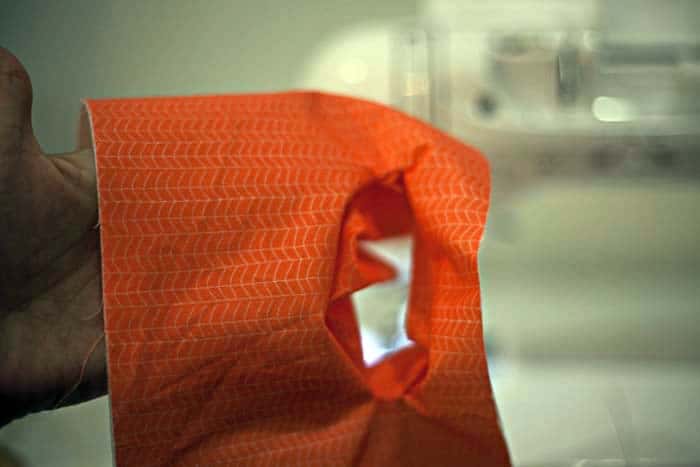
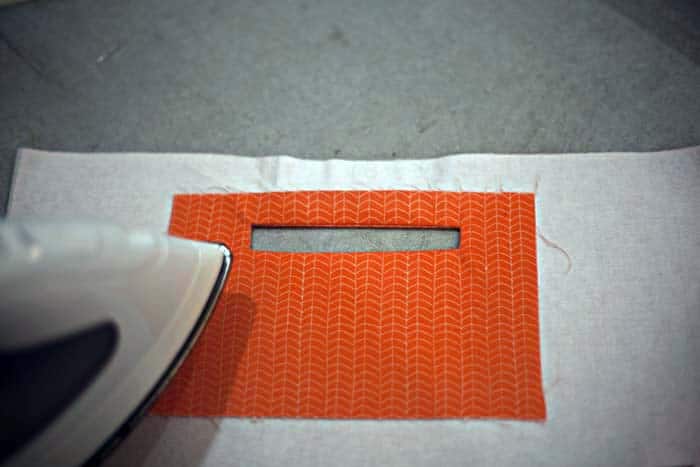
Push the entire pocket piece through the hole to the inside.
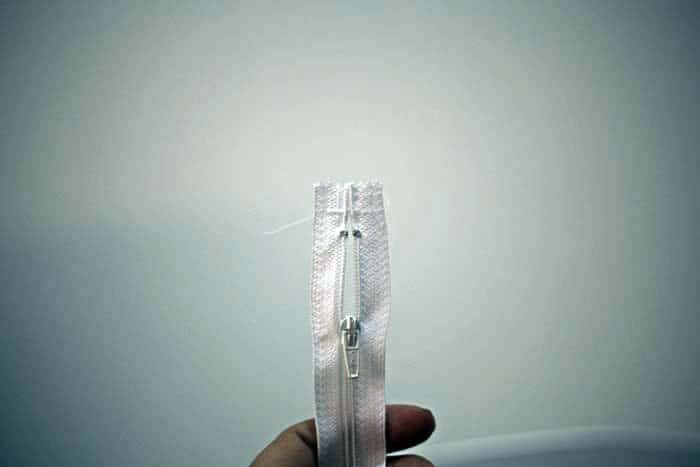
Set that aside. Sew the open end of your zipper together as shown here to ensure that it doesn’t slip during sewing.
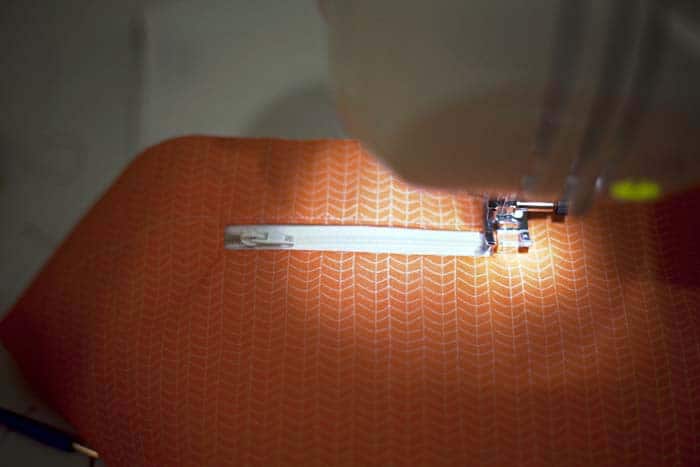
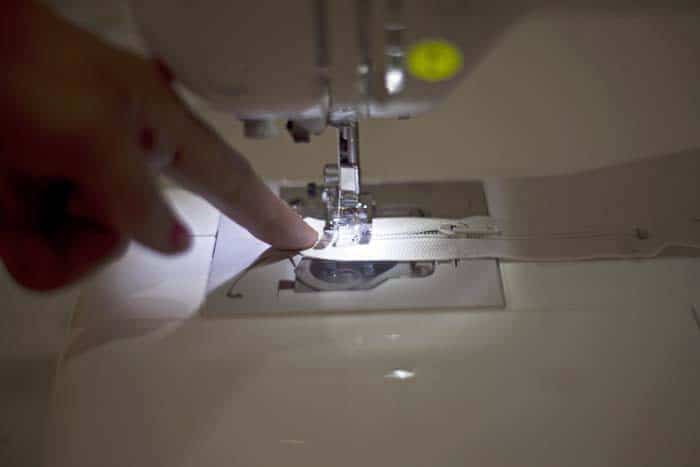
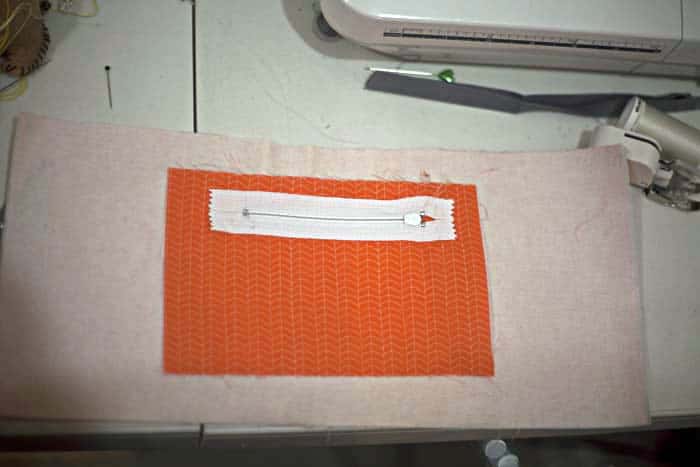
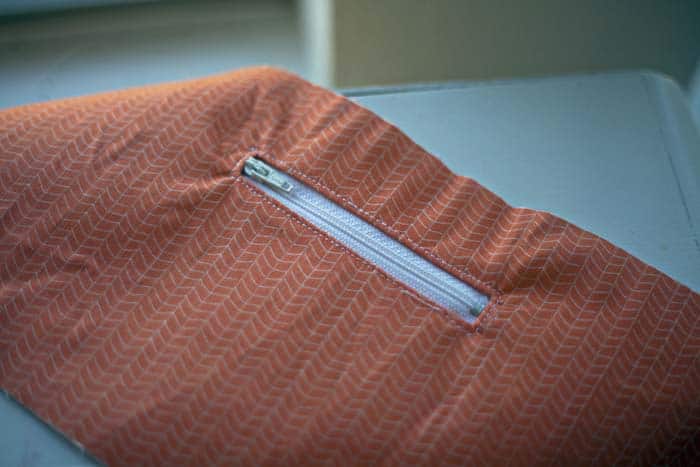
Position zipper so it is centered through the hole. You can probably do this without pins, just go slowly and make sure your zipper doesn’t move. Sew close to the edge of the opening all the way around with back stitches at the start and finish. Be careful not to sew over the metal “stopper” at the bottom of the zipper but otherwise you are fine to sew right over the plastic teeth. I didn’t have to use my zipper foot for this but use it if you have one.
This is what your pocket will look like from the back.
Lay the second layer of pocket directly over the first with right-side-facing.
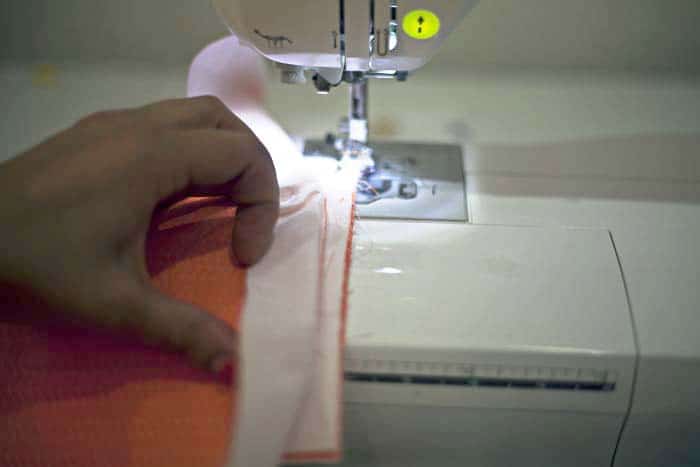
Moving the main fabric out of the way, sew all the way around through both layers of the pocket, back stitching at the start and finish.
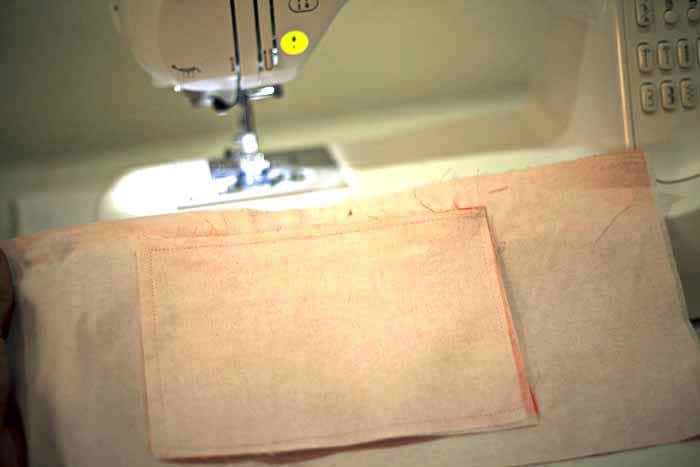
Flip it over! You have a pocket. Add them to jackets, vests, toys, purses, travel pillows, whatever your heart desires.
What do you think? Easy enough?

Zipper Week – Sponsored by Zipit Zippers.


It looks so easy, and for sure it is!
I promise I’ll make one… someday ^^)
You made this look so easy! I have always wanted to try zippers but they have been scary – I will try this pocket on my next tote bag! THANKS
I need to try this. It’s my only new year’s resolution. PS did you pick zipper week to honor Gideon Sundback?
Me again…..busy with this now (for tray) but not sure about something….before you sew around hole and the push fabric through: which side of your main fabric should face the pocket? Right side up, right? My brain is really struggling now!! Haha….
Nevermind….got it!
I did this on a satchel for my boyfriend, I just finished it – it looks great! I really appreciate this tutorial, it helped a lot, and I probably wouldn’t have had the nerve to try a zippered pocket without it.
I like to thank you for sharing this zipper tutorial.. I did it on a bag.. and it looks great!!.. Thanks a bunch!!! I am doing another zipper pocket on another bag.. 🙂
[…] to the power of the internet, a quick google search came up with this awesome and easy to follow tutorial on sewing a zipper pocket. The first step is to cut out your pocket square, and sketch a skinny rectangle one inch from the […]
[…] Next is from Prudent Baby, also a very clear and useful tutorial. […]
Thank you for this tutorial! I’ve just begun trying new things with sewing and because of this post I was able to add a zippered pocket to my daughter’s little purse for her birthday!
Thank you for this tutorial. I had no idea how to put in a zipped pocket like this and I have just followed your steps and it looks great. It was so easy too, I am now thinking where else I could use one!
thank you so much! this is the first zipper that has actually turned out for me!!!
This is the easiest to understand zipper pocket tutorials I have found. thank you!