Way back in February, Terra from mama says sew, came to visit us here at Prudent Baby and shared her Retro Inspired Shirt Tutorial. Since I’m a huge fan of anything retro inspired (especially when it’s put on a little one) I had to ask her to pretty please come back and share these Nautical Shorts. They have such an old-timey, classic look to them.
While you’re cruising through mama says sew, make a stop at the girl’s Striped Circle Skirt tutorial and Shirred Bubble Romper. The Bow Front Maxi Dress is a special sewing project just for you!
Let’s start sewing up this Nautical Shorts cuteness…
Nautical Shorts
Hi there! I’m Terra from mama says sew and I’m excited to be here on Prudent Baby today!
A little while ago I made a spring collection for my daughter. These nautical shorts are my favorite part.
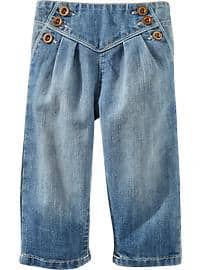
They were inspired by a pair of jeans I got for my other daughter at Old Navy. Luckily they are still available so I can show you a picture.
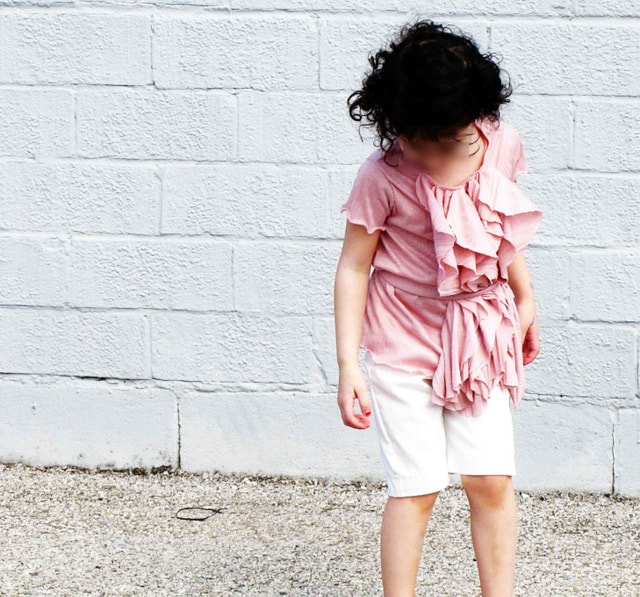
I love how well they pair with both the pink ruffle shirt {shown in the picture above}. Actually, they work with pretty much everything else in her wardrobe-what doesn’t go with white?
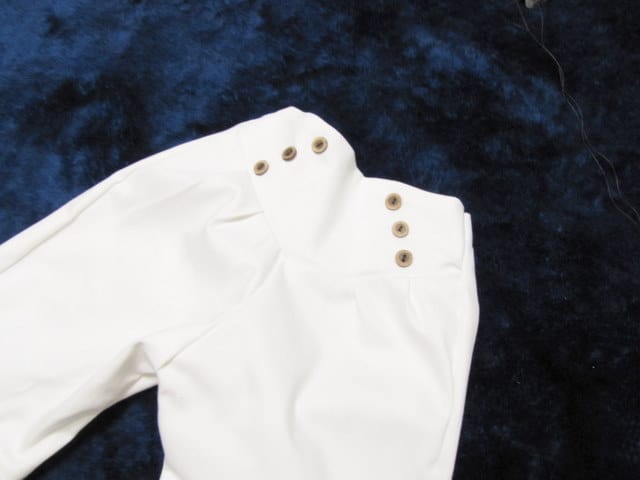
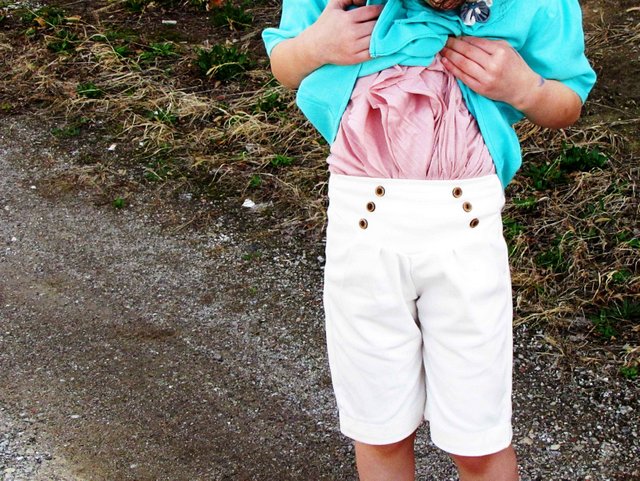
Here she is showing off the detail on the front waistband. The white makes the pleats a little hard to see, but the wooden buttons add the perfect touch.
Here is a shot of everything from the collection. The detail on the shorts is more visible in this light.
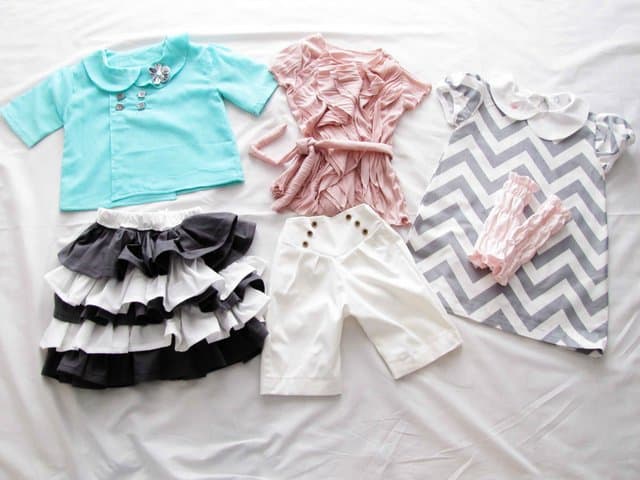
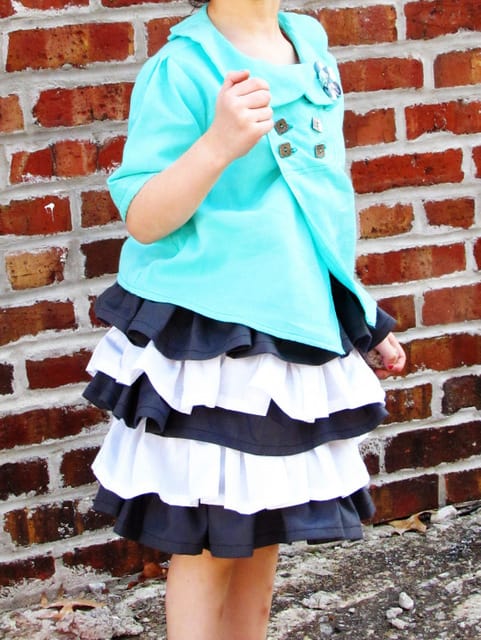
The free pattern and tutorial for the jacket are available here. I don’t have a tutorial for the striped ruffle skirt, but I explain what I did in this post.
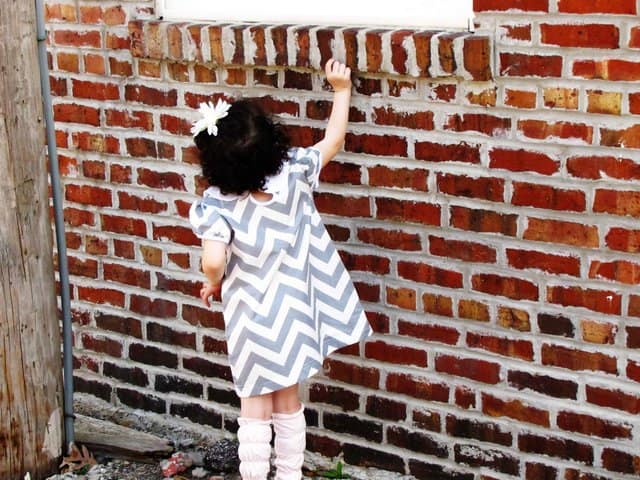
The last part of her spring collection is a chevron dress with an asymmetrical Peter Pan collar and some gathered legwarmers. I used the pattern I made here for the dress, but cut it to dress length instead of shirt length. The tutorial for the legwarmers is here.
And now that all of that is out of the way, we can move on to the tutorial for the nautical shorts.
First off, I’m going to apologize for the pictures. I used white fabric on a white background at night. Awful, but I was on a deadline and the best time to work is when the stinkers are asleep. If you have questions, feel free to email me.
First, cut out some basic pants pieces. I used the kid pant pattern from Made, but you can use any pants pattern with a gathered waist.
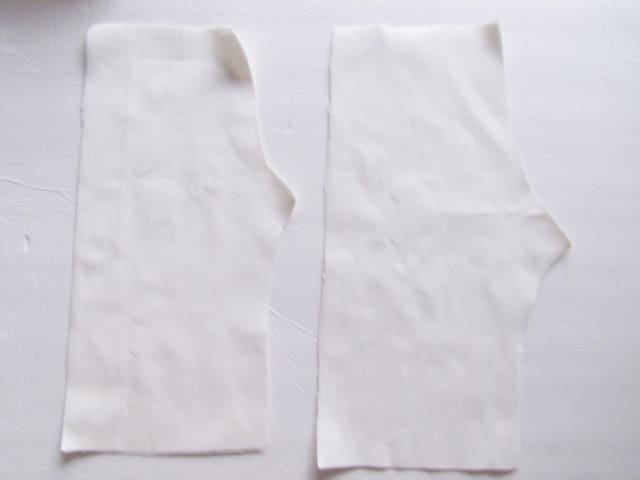
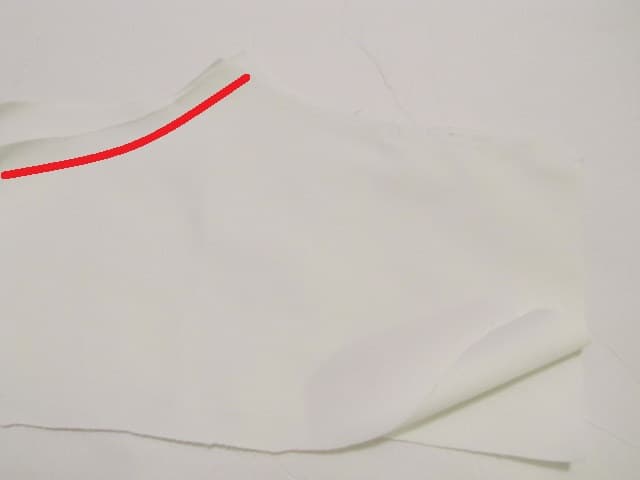
Match up the a back leg with a front leg, right sides together.Normally when making pants, you’d stitch both sides of the legs together. For these pants, only stitch the inside leg seams. The inside leg is the shorter length, under the crotch area. The red line shows where the stitching goes. Do the same for the other leg.
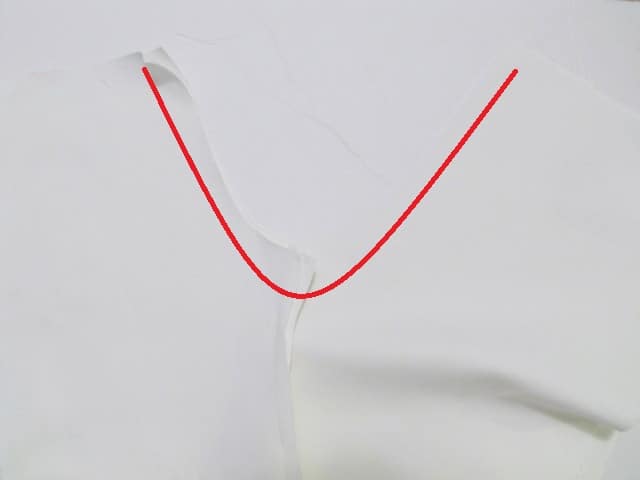
Now open up the legs so you have two big pieces. Lay them right sides together. Stitch along the crotch area {again shown by the red line}. I like to do a double row of stitching to make this
area really secure.
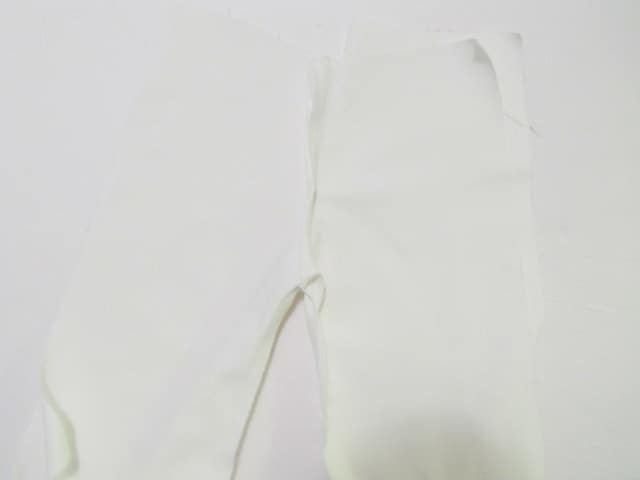
Open up the pants so that they look like a pair of pants inside out {and missing the stitching on the outsides of the legs}. Grab the front of the pants {the smaller side} and pull it away from the back of the pants.
Lay the front pieces so that they are right sides together, with the back pieces out of the way. Cut a diagonal line across the top front of the pants, as shown in the diagram below.
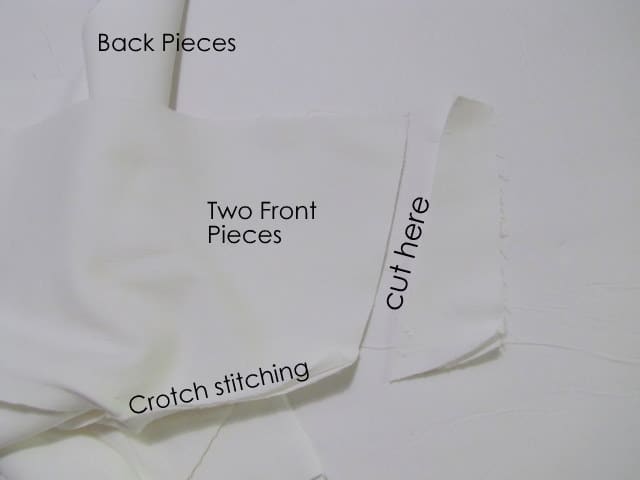
This is the piece you cut off. On the side without the crotch stitching, cut off some of the fabric. You want the width of this piece to be the width you want the front waistband of the
finished pants to be.
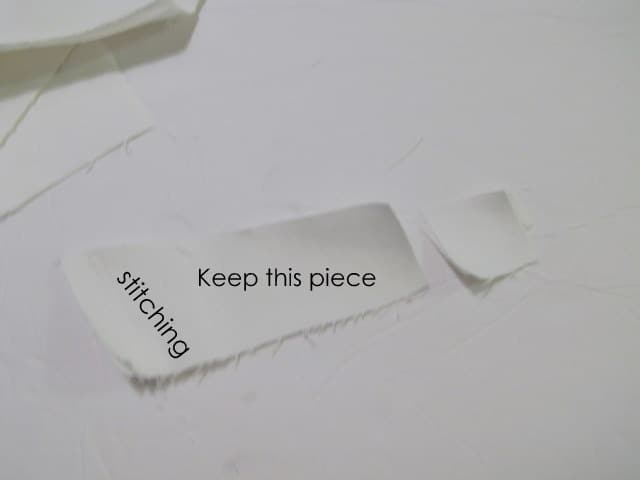
Using the piece you just cut as a pattern, cut out two wedge shaped pieces. You want them to be the same width as your pattern, but add extra length at the top and bottom for seam allowances.
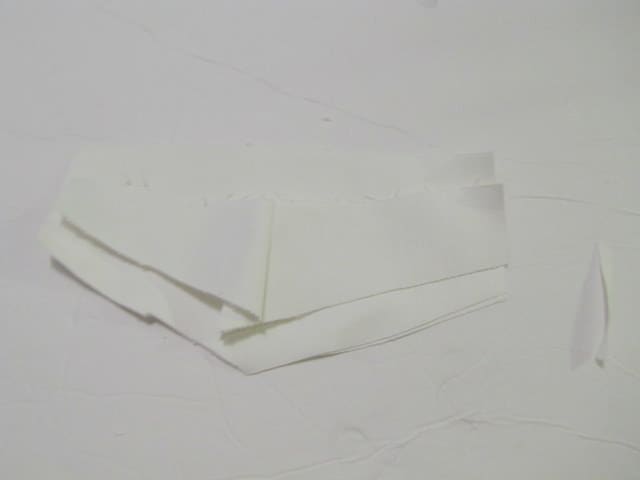
Stitch the two wedge shaped pieces together right sides together along the top.
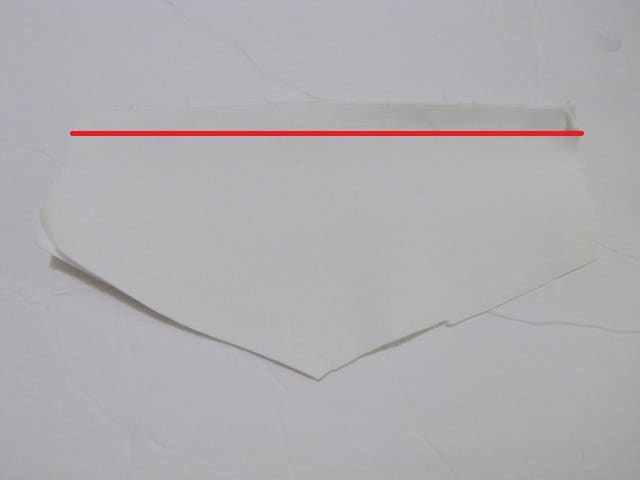
Turn right sides out and press.
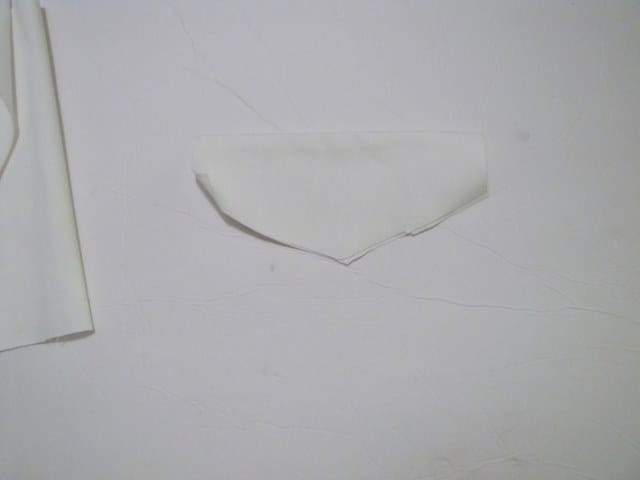
Press some pleats into the front of the shorts. You want them to be the same width as the wedge part of the waistband.
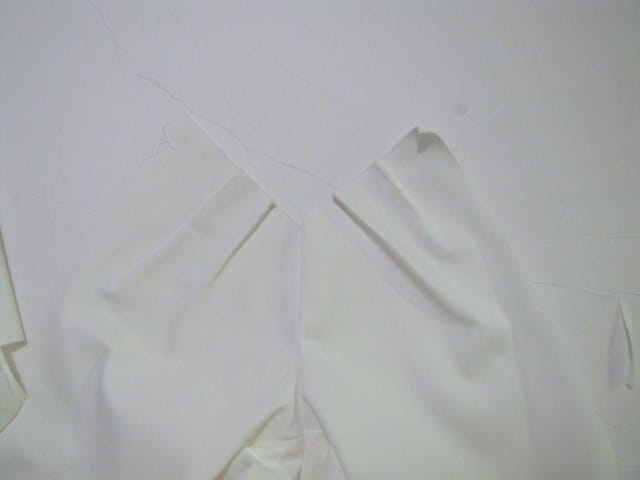
See? about the same width.
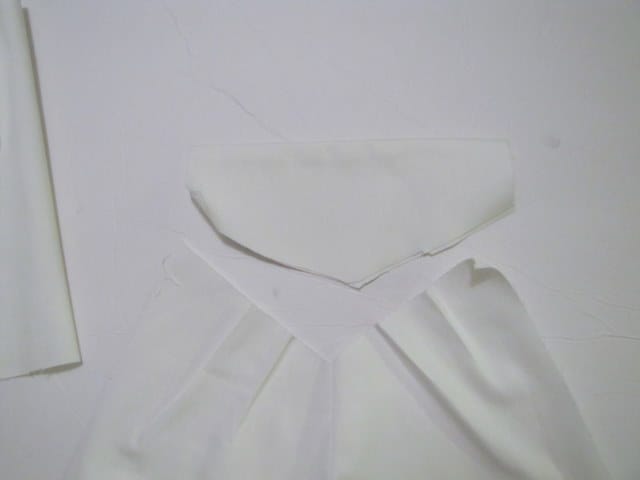
Turn the wedge piece upside down and pin the raw edges along the bottom of the wedge to the top of the waistband. I found the easiest way to do this was to pin along one edge to the point, making sure to secure the pieces together at the point with a pin. Then go back up the other side.
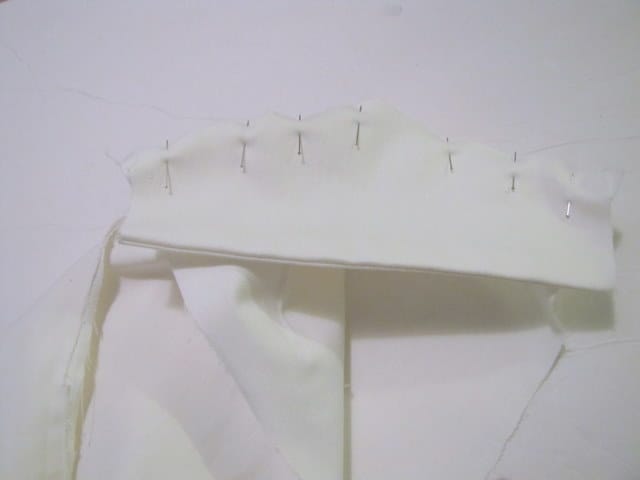
Stitch along the pinning, and then press the waistband to the top.
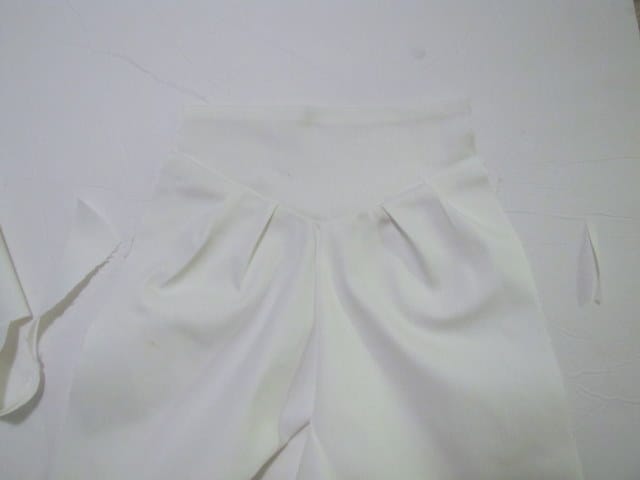
Make a casing in the back of the pants wide enough for whatever size of elastic you want to use. I used 3/4 inch elastic.
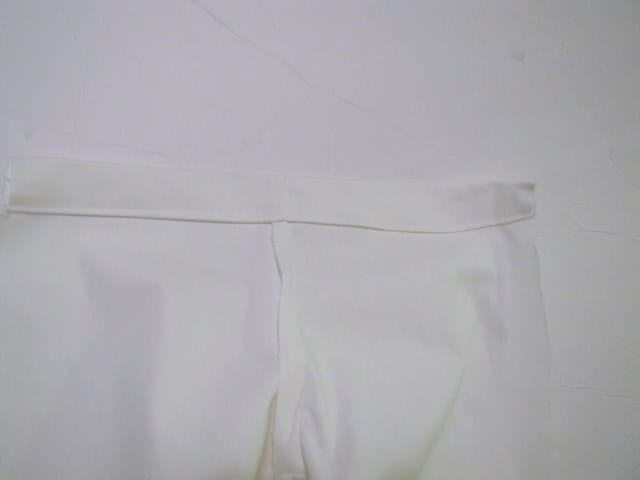
Insert the elastic into the casing. Stitch the outside of the legs closed.
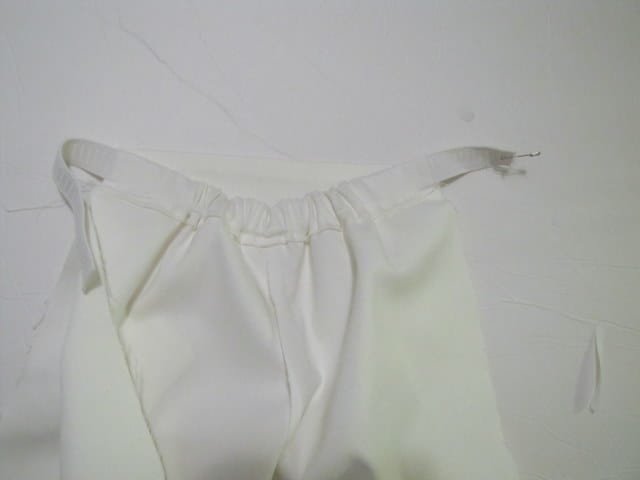
Turn the pants right side out. Hem the bottom leg openings.
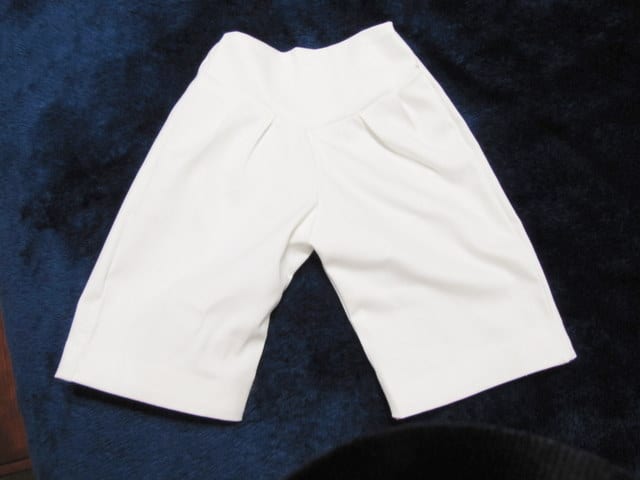
Sew on some cute buttons and you’re done!
