You know that amazing feeling when you have found a project that only takes seconds but has absolutely stunning results? Ya, me neither. Kidding! Erin from House of Earnest has created just that with her DIY Marbled Paper Cards. I’m sure you’ve stumbled upon marbled nails through your Pinterest ventures, but this takes marbling to a whole new level.
Since House of Earnest is all about pretty and simple projects, make sure to take note of this sparkly glitter vase and how to make a glass lamp from a vase.
Find out how to make your own DIY Marbled Paper Cards after the jump…
Marbled Paper Cards
I’m Erin from House of Earnest, and I love party crafts. I decided to try my hand at making my own marbled paper for a brunch and loved the results. Now, here is the disclaimer that you must know… this was surprisingly easy. Like, I was so surprised and wow-ed about how good they turned out with minimal work. It was pretty much fool-proof.
Materials:
- Cardstock
- 4 Colors of Acrylic Paints
- Wooden Dowels
- Mini Clothespins
- String
- Water
- Liquid Starch (If you don’t use this in your ironing, you can buy it right near the spray starch at the grocery store)
- Alum (found in the spice aisle, used in pickling)
- Dishsoap
Step 1: The preparations

ONE mix together 2 cups of liquid starch with 1 teaspoon of alum and pour in the bottom of a cake pan. TWO water down a little paint so that the paint is just slightly thinner. Add a tiny drop of dishsoap to it, this helps the paint to float on the starch. mix well. THREE construct a ‘comb’ with wooden dowels cut to 2 inches, or with toothpicks.

FOUR using a paint brush, shake drops and splatters of paint onto your starch. Do this with all colors you’d like to include. FIVE using your comb, comb the entire pan in one direction. SIX Then repeat in the perpendicular direction.
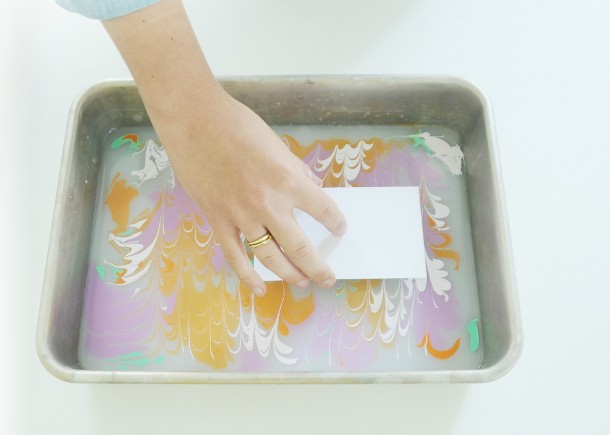
Carefully place your cardstock onto the top of the paper. Lay it down starting at one corner instead of straight down so that air bubbles don’t get trapped underneath. Once the paper has made full contact, lift by one of the corners and remove from the paint/starch mixture.
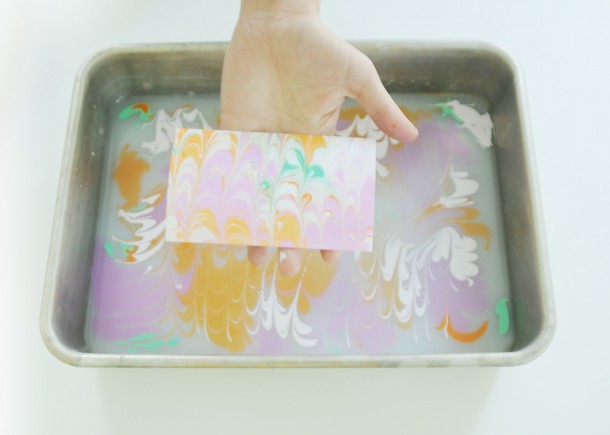
Dunk the swirled paper into another pan of clean cool water (don’t worry! The paint will stay on). Then hang on a string with clothespins over newsprint to dry.
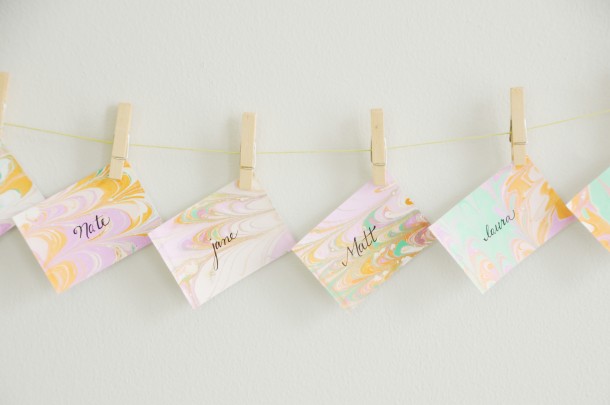
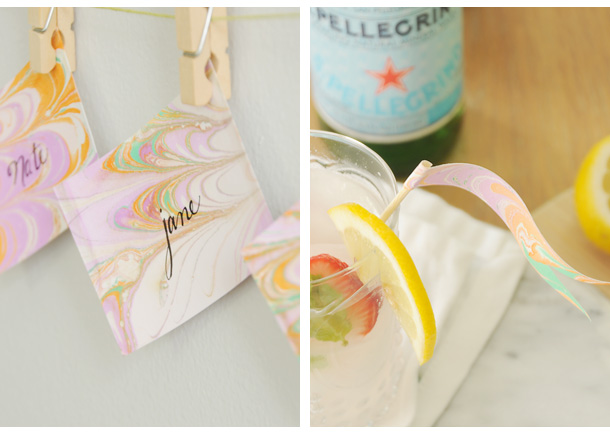
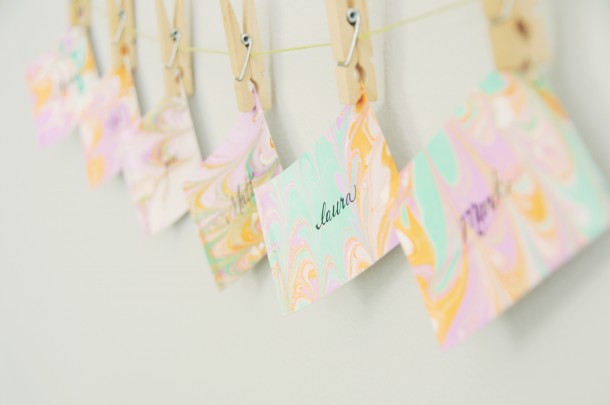
After they dry completely, you can use your marbled paper for so many things! I choose to make some cute little name cards for a weekend brunch as well as some little stir sticks using additional dowels that came with my package.
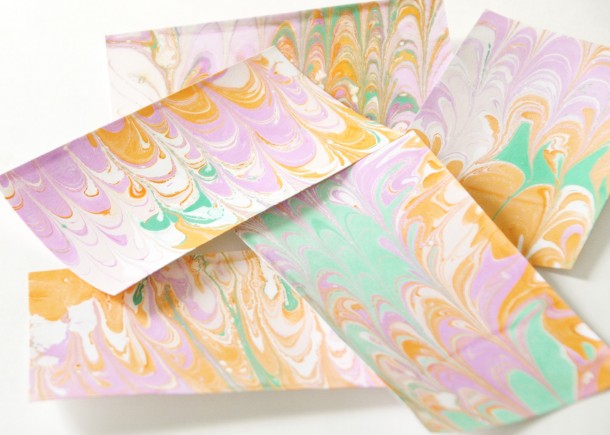
You should definitely give this a try! It’s deceptively easy and seriously impressive. Enjoy!


This is very cute. I would love to try this for something.
I am curious…Why do you place the completed project in water? And do you totally submerge the paper or just the part that you marbled?
Inquiring minds want to know!
Thanks!
I love marbling and its fascinating history. These look lovely!
[…] I was able to make a handful of them in an afternoon. Next time I think I’m going to use this marbling technique for the clouds, what do you […]
The dipping in water is to remove the starch mixture, although I’ve found that you can pretty much leave it on for a slightly different effect. Mind you, I think that was in a slightly different concoction. 🙂 Have you tried marbling with oil paints too? They go straight onto water, but you need decent quality paints (except maybe of the kids are having a go) and you want good quality turps to turn them into thinner inks instead of water. Quite a different effect too.
[…] Call over the kids because this is one they can help with too! Next, try your hand at making Marbled Paper Cards, Clouds and Stars Cards, and Washi Tape Popsicle Cards. They are all super […]