I’ve always had a weakness for acquiring music instruments and will jump at any opportunity to make or buy one. Yvette from Abernathy Crafts came up with this adorable DIY Spin Drum tutorial using balloons and jar lids. Brilliant! I’ll definitely be adding this to the collection. This is a great project to do with the kids when you’re all getting a little stir crazy indoors.
She has also come up with DIY Seed Packets that would make great gift toppers, along with a stylish TOMS-Inspired Tote and the super silent Tooth-Fairy Tin.
What do you say? Let’s make some noise with a DIY Spin Drum…
DIY Spin Drum
Remember the end fight on Karate Kid II when Daniel-son is getting his butt kicked and the audience started pounding those tiny drums that led to his victory? Yeah.. I loved that part. Well, I wanted to make some for my kids and my fabulously lovely boyfriend gave me the greatest idea! He also went to the store that night to get the supplies so that I could get to work on some spin drums. So here’s what we came up with, only ours don’t have the Japanese flavor of the “Den-den Daiko” as they are called. The kids loved them so much they hardly gave me a chance to show them how to do it. They just wanted to play with mine until I got theirs done.
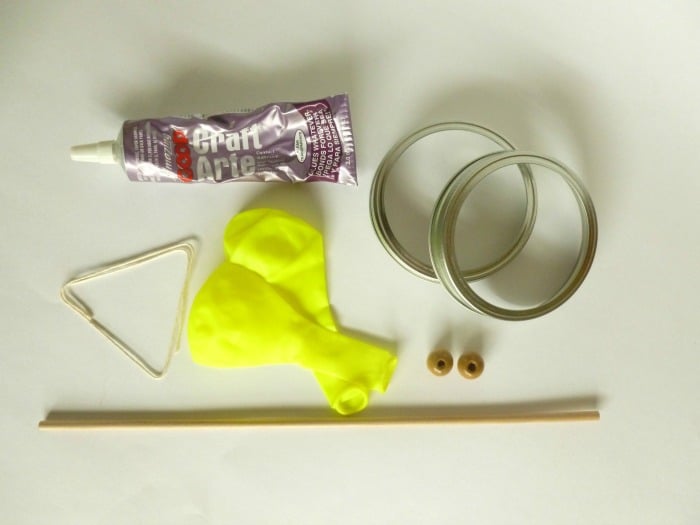
So here’s what you need to make your own:
-2 Balloons
-2 Mason jar lids (same size)
-Twine
-2 Beads
-1/4” wooden dowel
-Craft glue
-Scissors
-Hammer and screwdriver
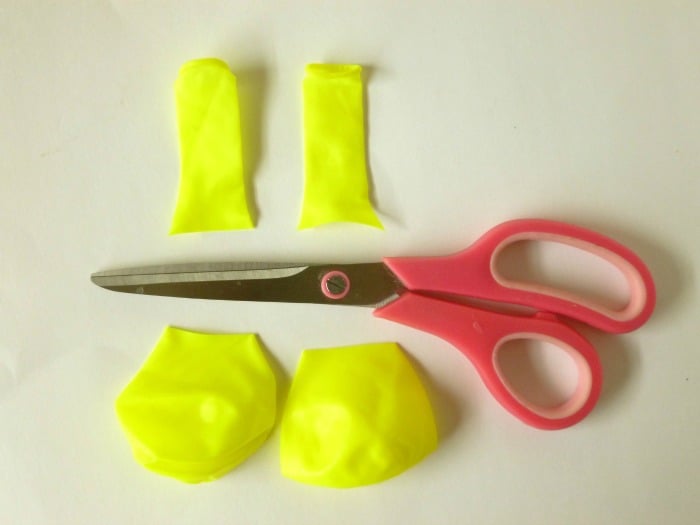
First, cut the necks off of your balloons.
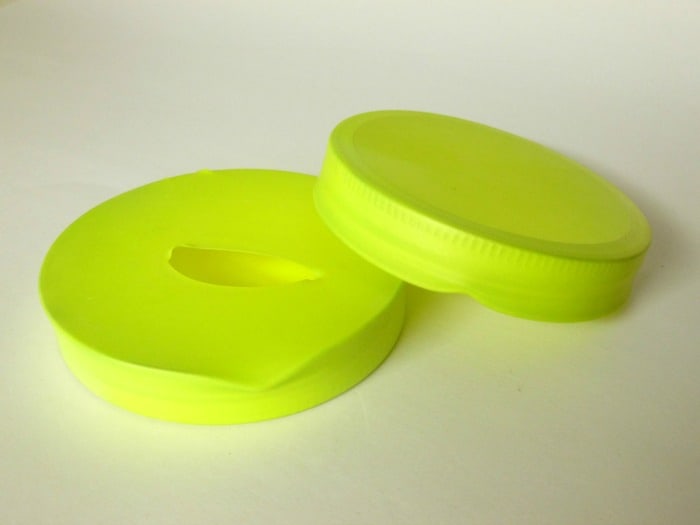
Next, remove the inner discs of the lids. You don’t need them. Using a hammer to pound a screwdriver, make a dent in both of your mason jar lids. This is where the dowel will fit in.
Now stretch the balloon over the lid so that the open part of the balloon is on the inside of the lid. The tighter, the better. You’ll get better sound that way.
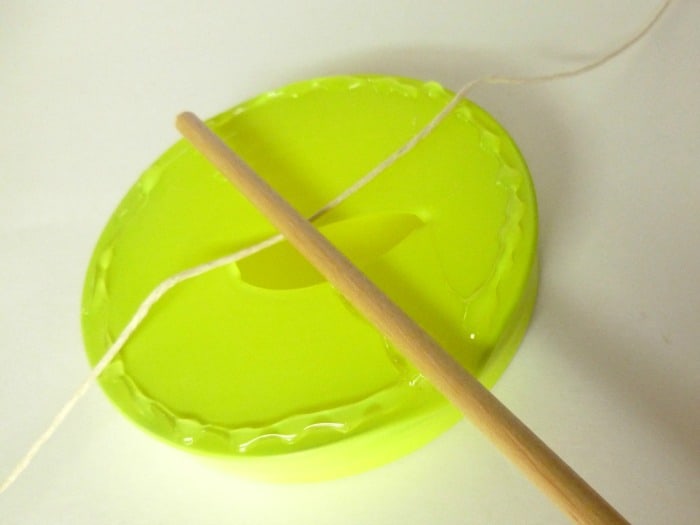
Line the perimeter of the inside of the lid with craft glue. Lay your twine across in the middle and lay a dowel on top resting in that little ditch you made with the screwdriver and hammer. A little more glue on the dowel will be helpful.
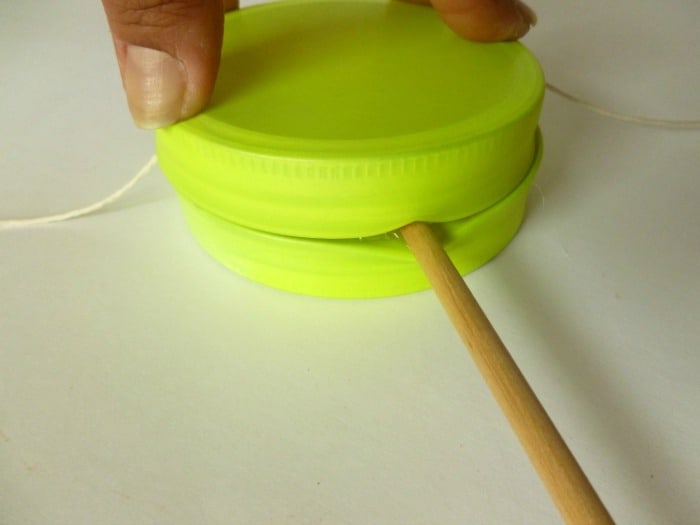
Sandwich the two lids together and rest something heavy on top, like a book. Wait for the glue to dry.
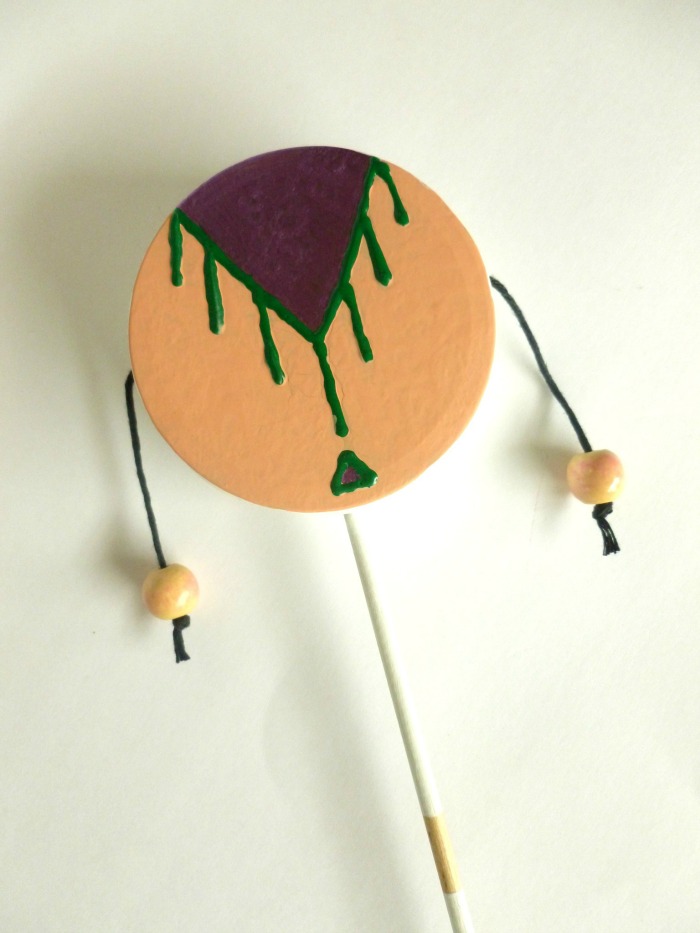
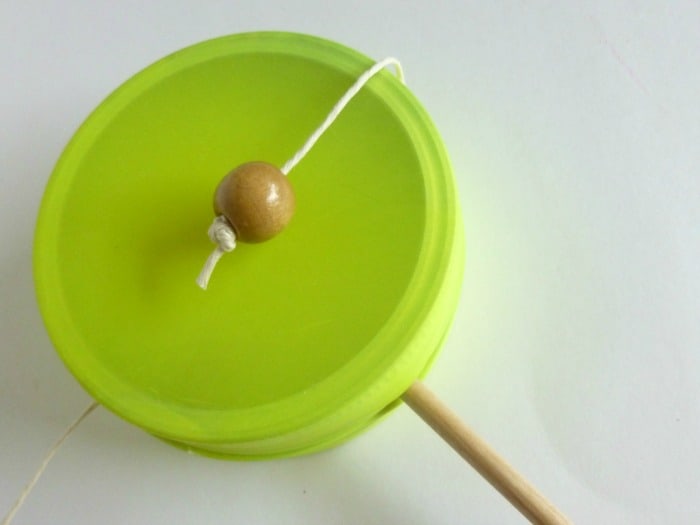
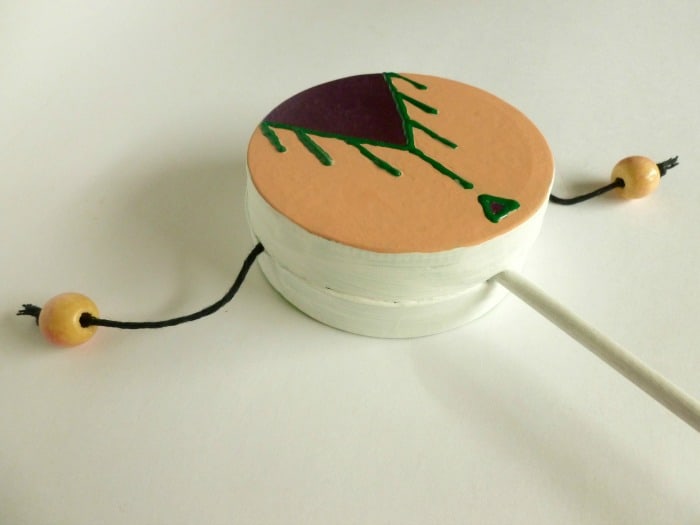
Tie on a bead on both sides so that the bead hits the middle of the drum. Then decorate as you please!
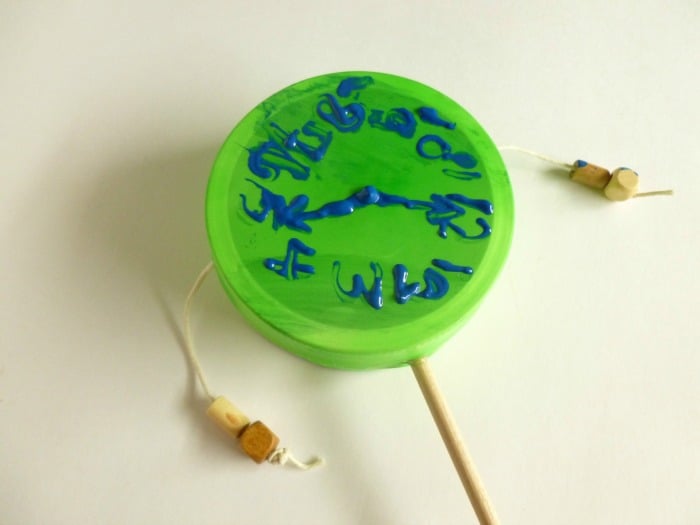
Here’s mine (above) and my son’s (below). Now pass them out to all your kids and curse yourself later as to why in the world you gave them all noise makers. Let’s just hope it doesn’t prompt them to start kickin’ butt like Daniel-son did!



You are so sweet, Colleen! Thanks for the feature!
Thank you for the instructions! My 10 month old son LOVES this toy and for his first birthday I wanted to get them as fun favors but couldn’t find them anywhere. Luckily Im into crafts and making things so it looks like I have another project ahead of me! So excited 🙂