As a kid, one of our family traditions every Christmas Eve was to get a new set of Christmas pajamas. I’ve heard this is a pretty common one. Anyone else? There’s something so great about putting on a new, warm pair of jammies before bed. Autumn, from It’s Always Autumn, figured out how to make the comfiest pajamas using a XXL T-shirt. They only cost her a whopping fifty cents.
Autumn has also been getting ready for the holidays with her Christmas Subway Art Printable. Her Baby Girl Top & Skirt J.Crew Knockoff is so cute and DIY 1st Birthday Cake Smash Photoshoot makes me want to take these babies home with me.
Let’s get cozy now with the tutorial for How to Sew Pajamas from a T-Shirt…
How to Sew Pajamas from a T-Shirt
Hi everyone! I’m excited to be here sharing a project I made a few months ago after scoring a bunch of men’s shirts for 50 cents each at a garage sale: Little Man Pajamas. Kids always need new jammies for Christmas, right? Now you can make the little guy (or girl!) in your life a pair of new pj’s from an old shirt and spend the money you save on something else!
Starting with an existing garment often makes sewing something new much simpler. I was able to use the sleeves of the existing shirt for pajama pant legs (which resulted in a nicely cuffed leg with no work on my part), the original hem for the bottom of the shirt, and the ribbed polo collar for nice cuffs on the sleeves (again with very little work). I love that refashioning often results in a more professional looking result than sewing from scratch, often for much less money and way less effort. Here’s the before:
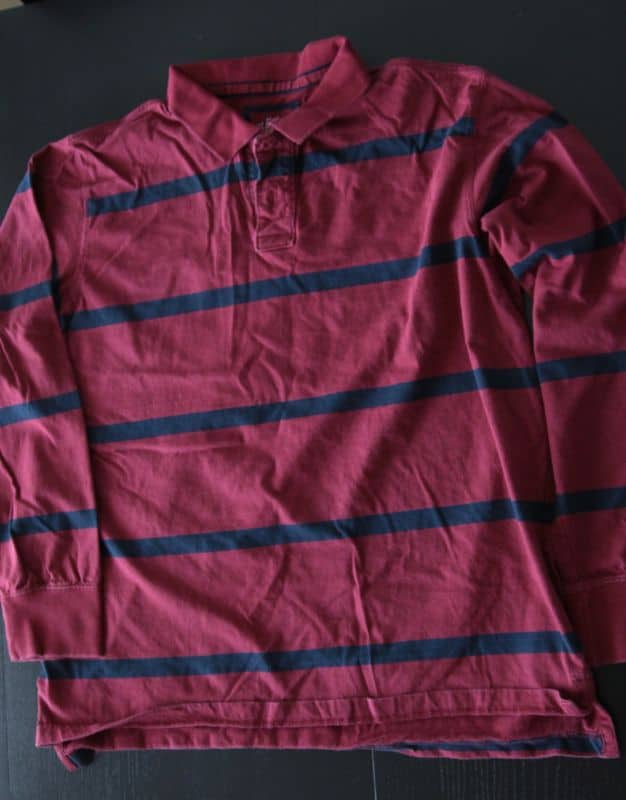
I love stripes for little boys, so as soon as I saw this soft and sturdy polo I knew I’d made something for my little man. I started by cutting off the sleeves and tracing an existing pair of jammie pants. Notice how my existing pair is a little longer at the top? That’s because my sleeves weren’t quite long enough – but it’s no biggie, because instead of turning down the top to add an elastic casing, I added a yoga waistband, just like in the baby girl version. Does it look girly in the end result? Not at all.
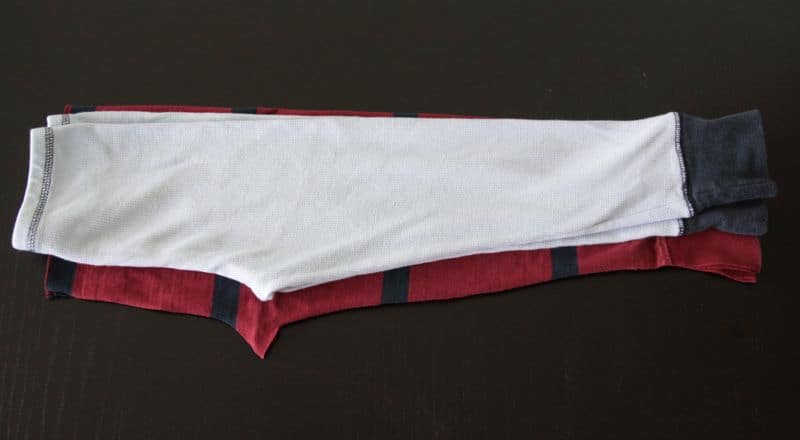
The pants took about ten minutes because they only need three seams and don’t require hemming (check out the baby girl version for step-by-step photos). All you have to do is sew up the inseam, put the two legs together and sew up the rainbow, and sew on a yoga waistband. Fantastic!
Next, I cut out the bodice of the shirt, again using an existing shirt to get the right shape (remember to add seam allowance when cutting!)
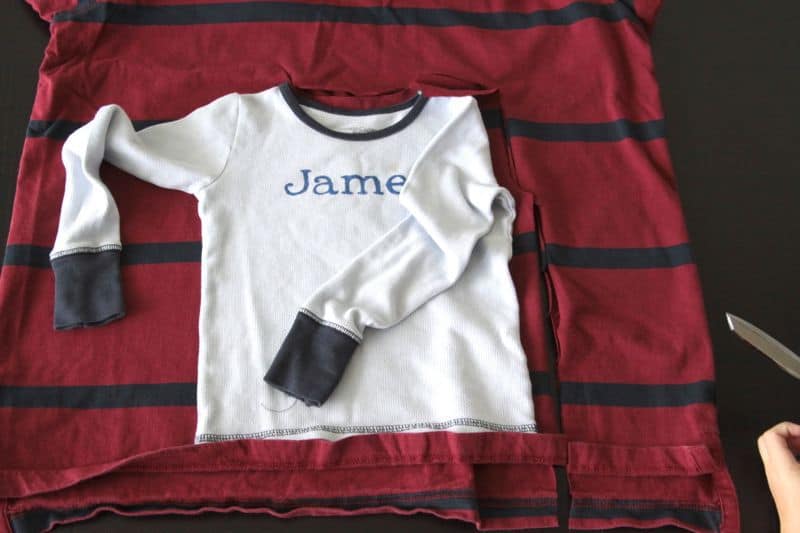
I used the shirt to cut one half of the bodice, then flipped it over and cut down the other side.
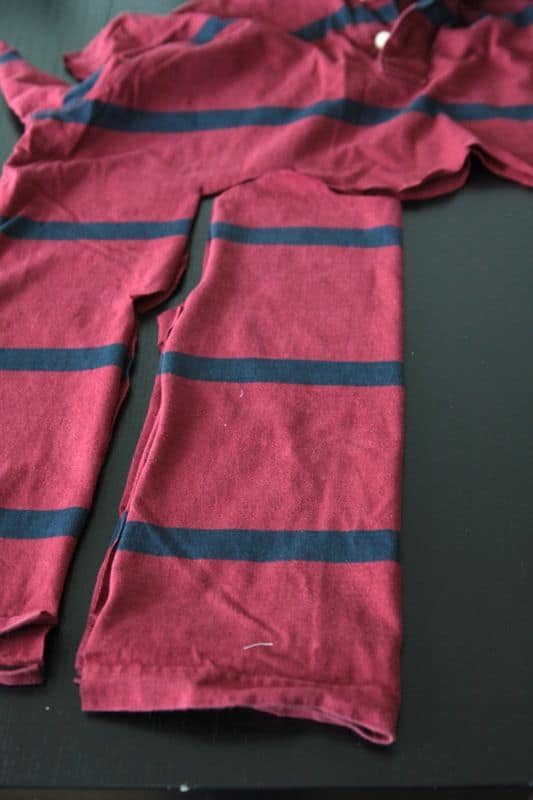
I cut sleeves from the rest of the shirt fabric, again getting the shape from an existing shirt.
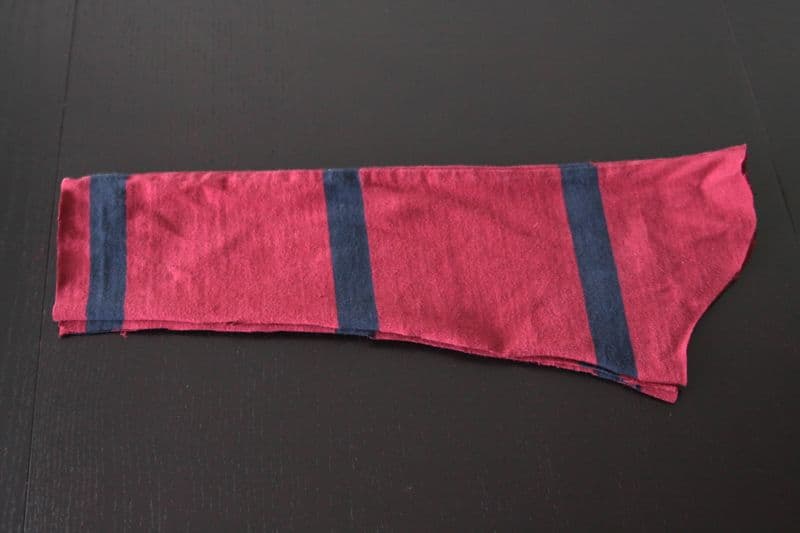
Shirt construction is pretty simple as well. Place front and back RST and sew shoulder seams.
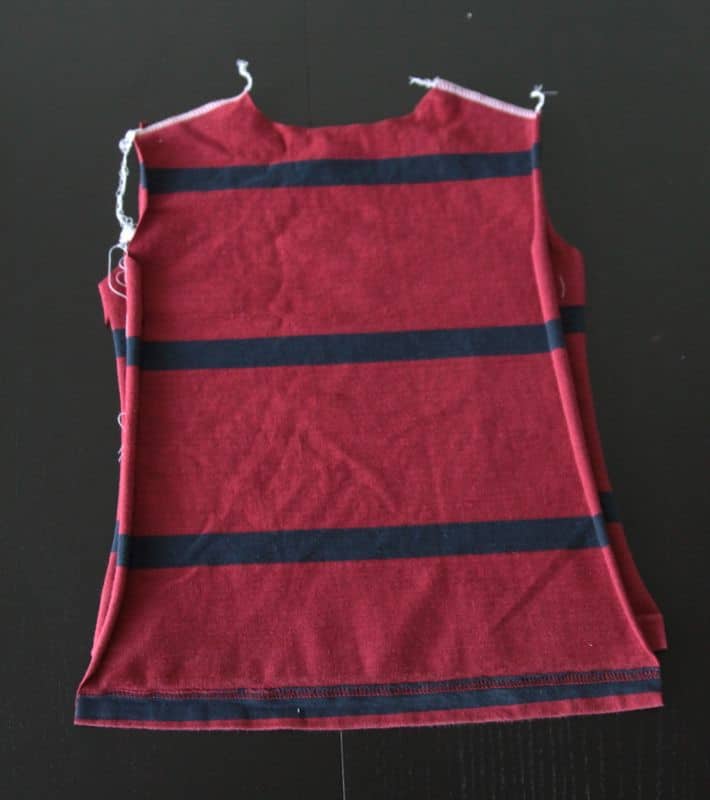
Next, sew on your sleeves (step-by-step photos here). At this point I realized the shirt’s polo collar was the exactly same ribbing material used at the bottom of the sleeves (now pants), so I decided to cut up the collar and use it as a cuff at the bottom of my sleeves. This was so much simpler than hemming! I just place the collar on the right side of each sleeve and sewed along the raw edges, as shown.
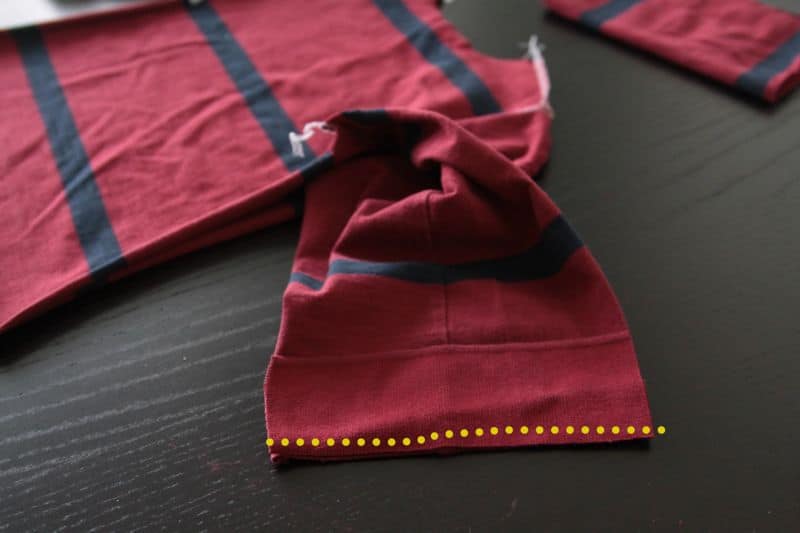
Next, you can sew up the sleeve and down the body of the shirt (sorry, the cuff is not on in this photo but it should be!).
Because I started with a polo shirt that had a little longer hem in the back than the front, I sewed down the body but stopped about an inch above the front hem.

This allowed me to press the side seam open and then add blue detail stitching that you can see below – now the hem of the little shirt looks just like the polo hem of the big shirt – little details like this make your finished project look a little more professional.

After that all that was left was adding ribbing around the neck. I tried the shirt on my son to make sure the neck hole was large enough to go over his head. Then I grabbed the scraps of the leftover shirt and cut a long narrow strip all the way across, making sure it included one of the blue stripes. I folded my strip right along the stripe line and attached it to the neck, being sure to pull the ribbing tighter than I pulled the neckline of the shirt (step by step pics in this post).
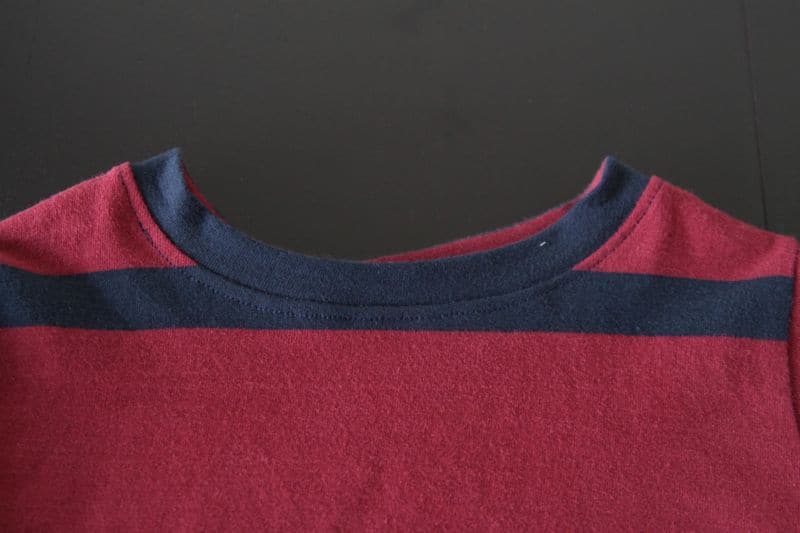
Once the ribbing was attached, I pressed it to the top and went around the neckline again with a blue straight stitch – making sure to streth the entire thing as I sewed so that line of stitching wouldn’t be too tight when my son tried to put it on.
I wanted to taper the ribbing off at the back right in the middle, but I was too lazy to measure and it ended up crooked. That happens. Did I unpick the whole thing and put it together right? No. My son doesn’t mind and no one else will ever notice.

He actually thinks his new pajamas are pretty awesome.
Perfect for snuggling up with his monkey, Jim. (Jim has jammies too – along with a free pattern download for Build-a-Bear sized animals – click here!)
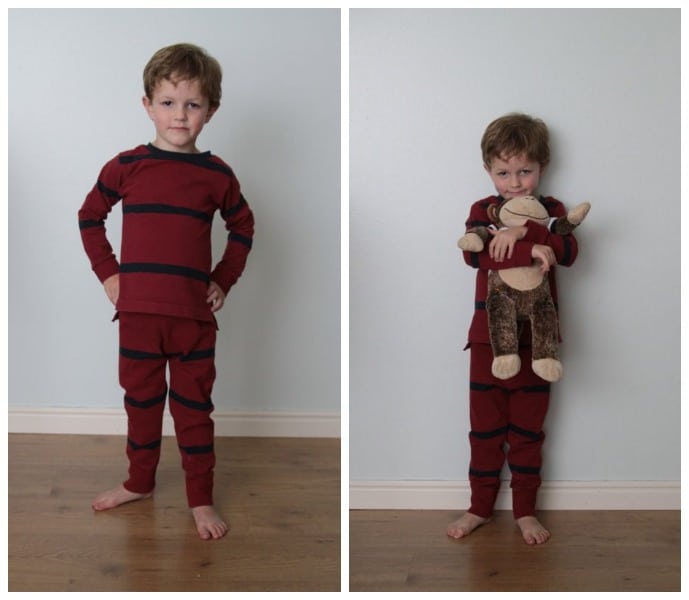
New, cute pajamas for 50 cents. I’m good with that.


Those are really cute and with such a great price tag! 😉
Excuse me while I go pilfer through my husband’s closet. He wouldn’t miss anything, snicker. Love the part about not having to hem or make cuffs!
Now to dig out those girly shirts I got on sale for my granddaughter.She needs Jammies. I also have a pretty pillow case with ruffles for next year. They grow so fast.
Considering I have three little boys, and also that same Old Navy men’s polo sitting in my “to-be-refashioned” pile, I think I just found my next weekend project. Love the idea of using the sleeves as pant legs. Genius.
Great idea!
I am really inspired along with your writing abilities as well as with the format for your blog. Is this a paid theme or did you customize it your self? Either way keep up the nice quality writing, it’s rare to see a great blog like this one nowadays..
Hello! I just wanted to let you know that I have followed your tutorial and made a PJ for my son! Take a look! http://dodiegray.blogspot.com/2013/04/daddys-old-shirt-refashioned-into.html
Thanks for the great idea!
[…] 5. Upcycled Pyjamas from Mens shirt from Prudent Baby […]
I used to make my dog clothes from old sweaters, I cut up an old cashmere sweater to add to my sons pjs sleeper to make the legs and arms longer, I cut off the cuffs from the arms and legs and added the cut sleaves from my sweater to the arms and legs
I’m curious to find out what blog platform you’re using?
I’m experiencing some small security issues with my latest blog
and I’d like to find something more safeguarded.
Do you have any suggestions?
Wow these look much more economical than buying pattern and fabric thank you
This is an amazing idea.I never knew that you could actually make something really special out of an old shirt.
Wow! Just came across this pattern. I just started sewing 2 weeks ago and wonder if i should consider this challenge. I always love to challenge myself straight away before evn mastering a skill and almost always push through and loving it! Thank you for this great pattern to up-cycle clothes!