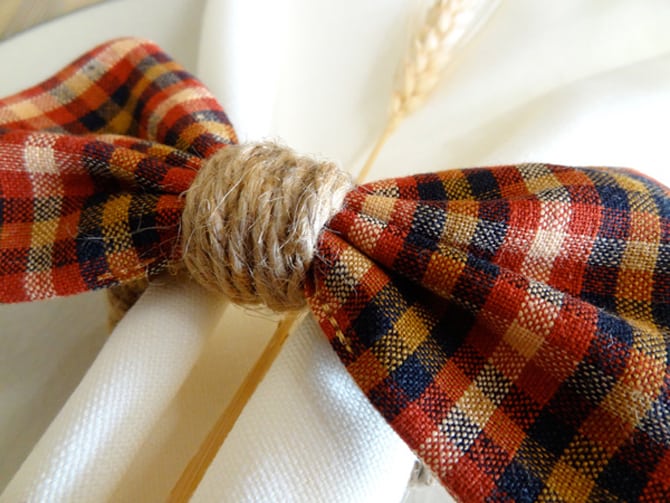
Now that you have all your Christmas presents wrapped and you’re just relaxing by the fire until Christmas, you can start on these easy-peasy DIY Bow Napkin Rings (ha!). Really though, these bow napkin rings take no time at all and are perfect for Christmas dinner or a handmade hostess gift. Rebekah from Twinkle and Twine will walk you through the simple steps.
Her Poinsettia Gift Box Favors, Fabric Puff Ornaments and DIY Clustered Pearl Bracelet make great last minute gifts for friends too.
Check out the full DIY Bow Napkin Rings tutorial after the jump…
Hello Prudent Baby Readers! I’m so excited to share my quick and easy Plaid Bow Napkin Ring tutorial with you today. I originally created these for a Thanksgiving table, but they would also work beautifully for a Christmas table…or any table. Pick a fabric that coordinates with your event’s decor and you could use these for any occasion! These require minimal sewing and are really simple to make, so you won’t have any trouble getting them ready in time for your holiday feast. Enjoy!
~Rebekah (www.twinkleandtwine.com)
DIY Bow Napkin Rings

-Plaid fabric (two 4″ x 6″ rectangles for each napkin ring – For this project I chose to use a variety of plaid fabrics to add a bit of spice to the look of the table, but you could also get a really fun look by using the same plaid for all of your napkin rings.)
-Coordinating thread
-Lightweight fusible interfacing (I like Pellon SF101)
-Twine
-Yarn needle
-Scissors
-Rotary cutter, mat, and plexiglass ruler (optional, but helpful)
-Iron (not pictured)
-Sewing machine – although, you could sew these by hand if you’d like (not pictured)
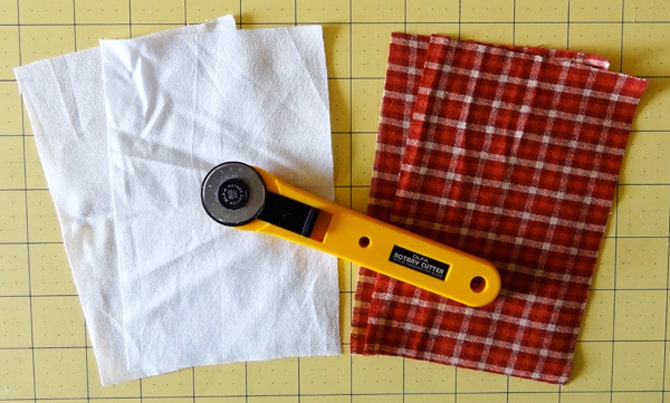
Step 1: Cut out two 4″ x 6″ rectangles from your plaid fabric and two 4″ x 6″ rectangles from your fusible interfacing.
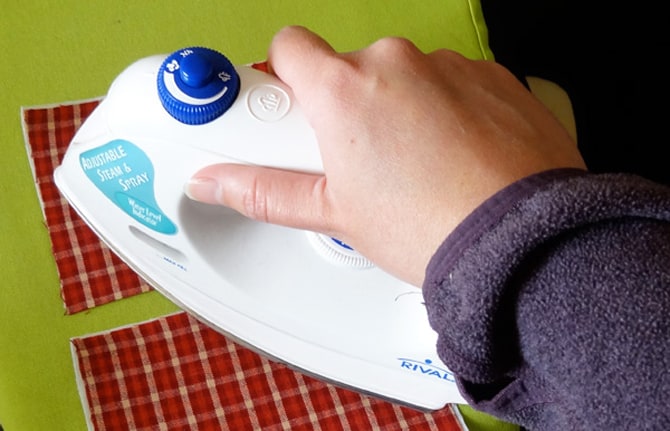
Step 2:Fuse the interfacing rectangles to each of the plaid fabric rectangles.
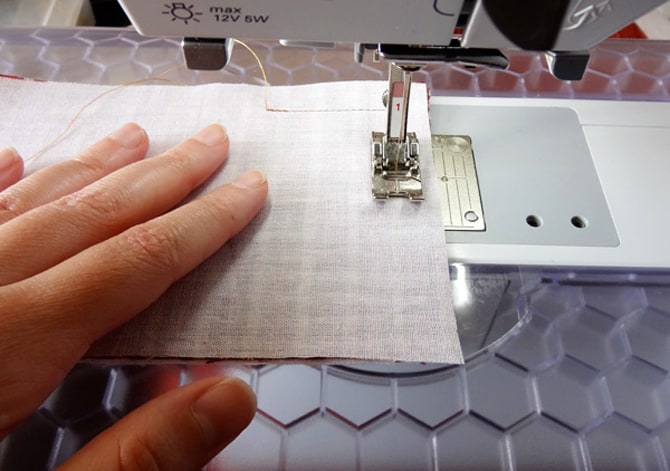
Step 3: Place the two fused rectangles right sides together and stitch them together around the perimeter using a .5″ seam allowance. Leave an opening in the center of one of the long sides of the rectangle for turning.
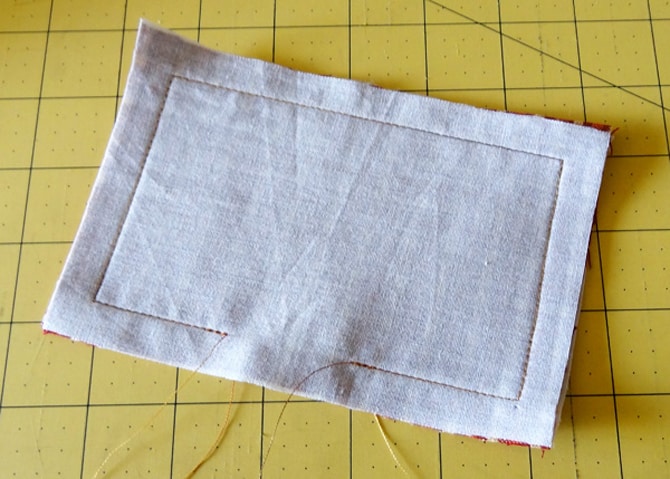
Step 4: Clip the corners of the rectangle.
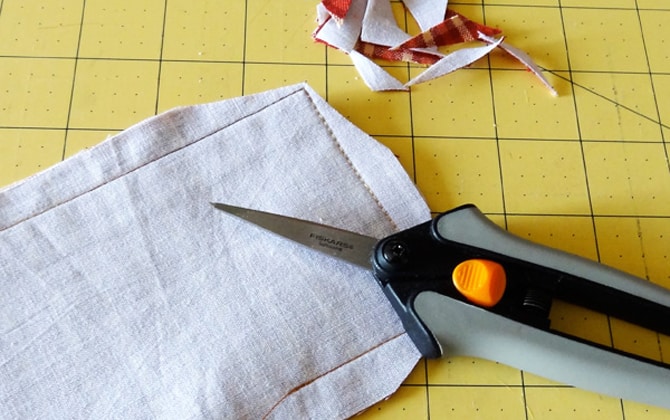
Step 5: Turn the rectangle right side out and press.
Step 6: Using a very narrow seam allowance stitch the opening closed.
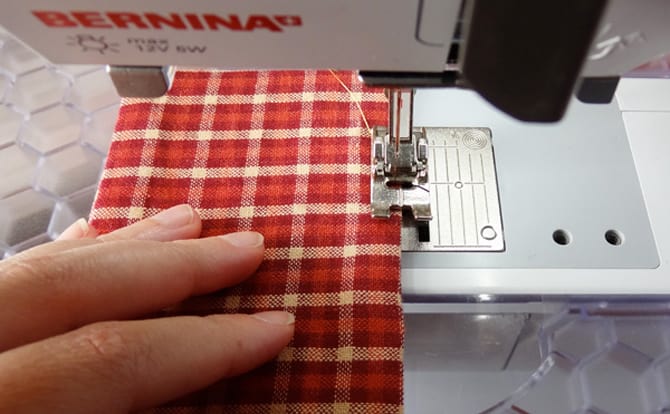
Step 7: Time to make the “ring” part of the napkin ring. Cut twelve, 12″ long pieces of twine.
Step 8: Bundle the twelve pieces of twine together and tape the ends to a work surface as pictured below.
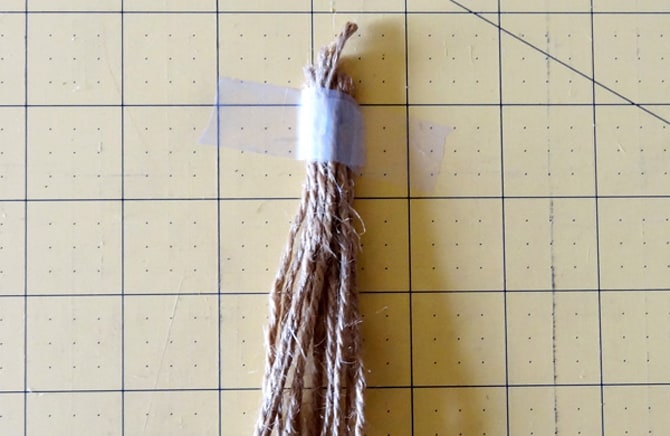
Step 9: Separate the bundle into three groups of four strands each and braid them together. Stop when you reach the end.

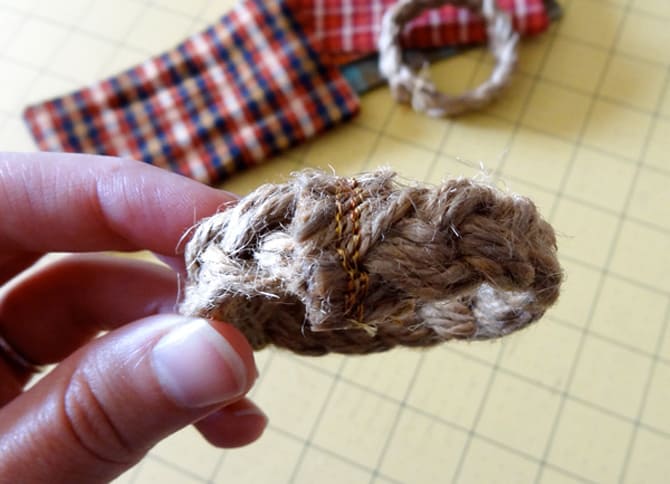
Step 10: Form 6.5″ of the twine braid into a circle with the ends overlapping. Place the overlapped ends under the foot of your sewing machine and stitch back and forth over them to securely join them together. The twine will be very thick, so make sure to sew this part slowly and carefully so that you don’t damage your machine (mine got a little choked up on one of the rings). If you would prefer, this step could be sewn by hand instead.
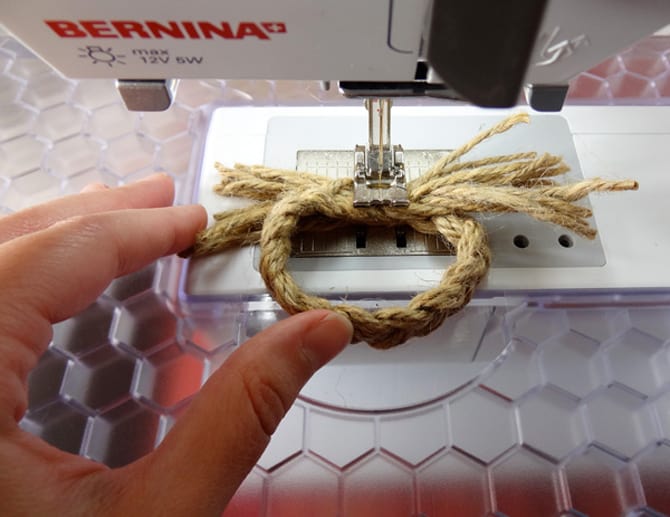
Step 11: Remove the braided twine from the machine and trim the ends of the braids.
Step 12: Take your plaid rectangle and pleat it back and forth 7 times (like you’re making a fan).
Step 13: Take the twine and wrap it around the center of the pleated plaid rectangle about 5 times, making sure to catch the end of the twine as you wrap so that it is secured and won’t unravel.
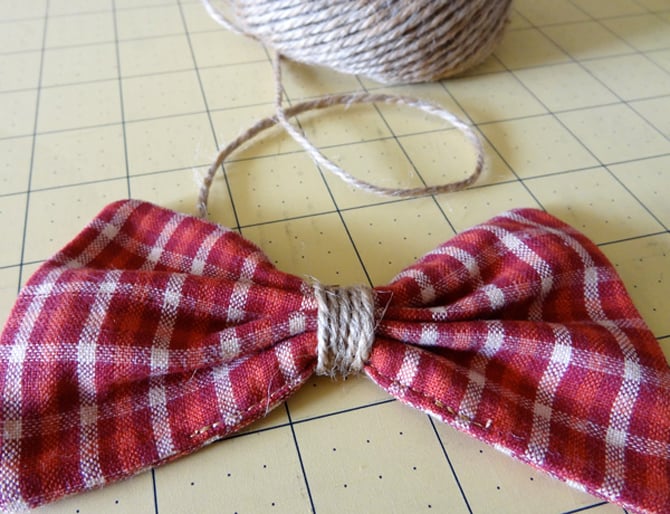
Step 14: Place the plaid “bow” on top of the sewn seam of the braided ring. Cut the twine from the ball leaving a 36″ tail. Continue wrapping the twine, this time around both the bow and the ring until the bow is securely attached to the ring (8-10 more times).
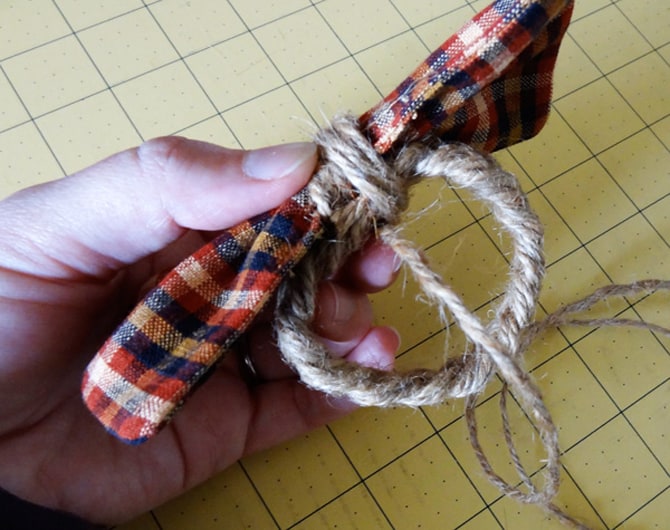
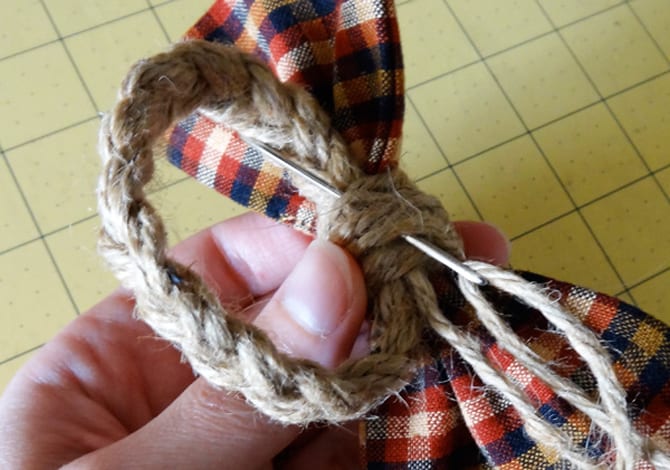
Step 15: Thread the remaining tail of the twine onto a yarn needle and weave it back and forth behind the rows of wrapped twine until it is secured, trim any excess.
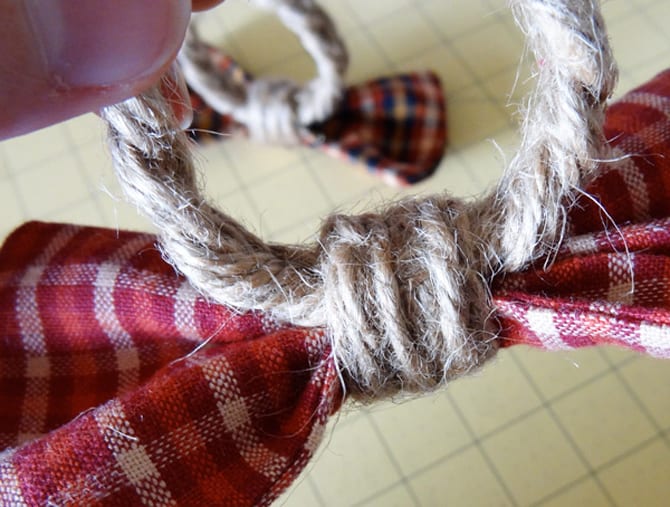
Step 16: Set a beautiful table using your new napkin rings!
Head on over to Twinkle and Twine for more projects like the Garland for All Occasions and DIY Jewelry Organizer.


Its beautifull!!!!
Great idea, I loved, beautiful and special. Thank you shared with me your idea.
Tsviya/
[…] Rebekah from Twinkle and Twine guests over at Prudent Baby with a tutorial showing how to make these twine and fabric bow napkin holders. They’d make a pretty addition to your holiday table. Get the tute. […]
[…] Rebekah from Twinkle and Twine guests over at Prudent Baby with a tutorial showing how to make these twine and fabric bow napkin holders. They’d make a pretty addition to your holiday table. Get the tute. […]
[…] Plaid Fabric Bow Napkin Rings – Pretty Prudent […]
Great idea