Composting can sometimes come off as, let me put it this way: Confusing, Overwhelming Mind-boggling, Problematic, Odors, Stressful, and down right Tough. Good news, it’s not that terrifying! Whether you live in a tiny little apartment or big ranch, you can make composting a part of your daily routine. Let’s cover the basics:
Why should you compost?
1) About 30% of garbage that goes to landfills is made up of waste from your food and yards.
2) Composting is an organic way for you to supply your plants with nutrients so they can grow nice and healthy.
3) The microscopic organisms in compost help aerate your soil and help fight off plant diseases.
3) Because it’s totally free!

Keep reading to hear more about how to start composting after the jump…
When I lived in San Francisco composting was as common as the fog. Basically, I just put it into a small trashcan below the sink and then into the compost bin for the city to come pick up. You can actually find your closest compost facility with this handy Composting Facility Locator. If you’re interested in taking it a step further and composting in your home keep reading.

How do you start composting?
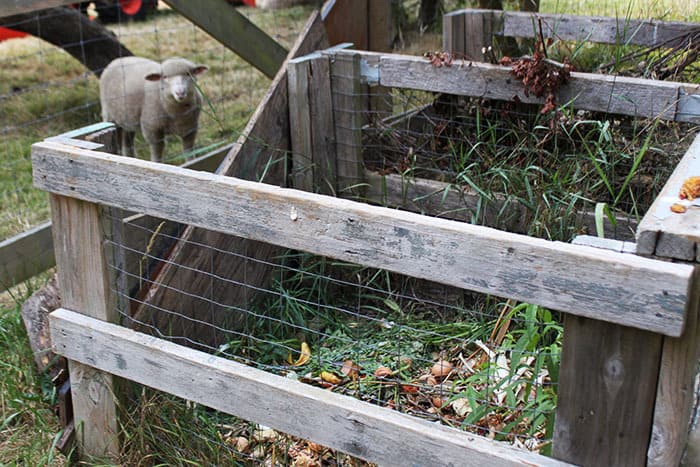
First, you’ll want to buy or make your own composting bin. You can find a few DIY options here. If you have space outside, use a wood crate that is about 3×3 feet or a little larger. If you are limited on space, you can put a covered trash bin with holes and a tray underneath in your home, or buy a small worm bin (make your own worm bin with this tutorial). This method is called vermicomposting.
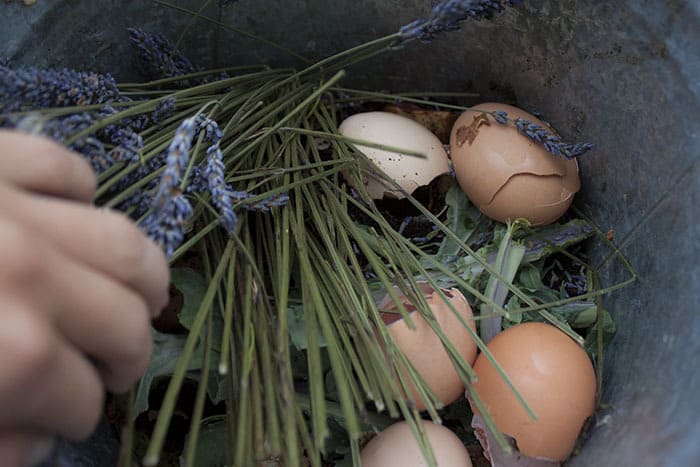
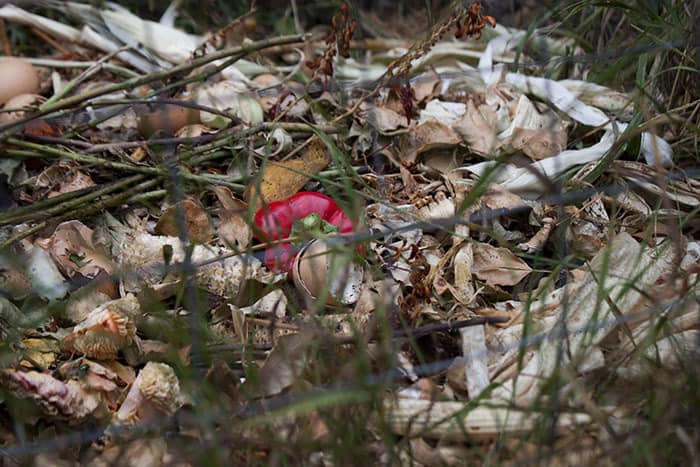
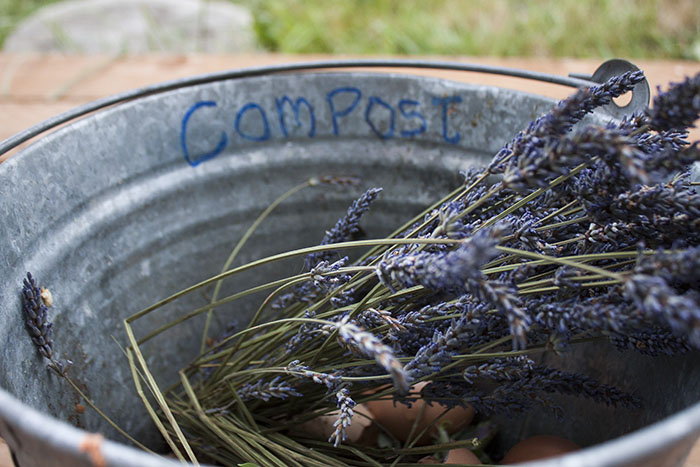
You can start composting by setting aside a designated composting bin just for composting materials in the kitchen. Fill it up with fruits and veggie scraps, eggshells, flowers, tea bags, coffee grinds, and garden ‘waste’ (but avoid weeds). This is your nitrogen-rich waste, also known as your greens.
Set up another bin outside for carbon-rich waste like twigs, leaves, bread, paper, cardboard. These are your browns. If it’s easier for you, you can keep the bins next to each other.
You should avoid meat, bones, and dairy.
Limited Space: For those of us with limited space, add about a three-inch layer of soil and a thin layer of browns at the bottom of the bin. Soil will also help speed up the process. You can have another compost bin set aside to be able to transfer the “in process” compost over and fill the main one with new compost materials. If you are going the vermicomposting route, fill the worm bin with your compost and cover with browns like paper shreds. Check on the little guys and if they are not eating it all up fast enough you should give them less food and chop it up. You can save your compost in a bag in the freezer until you are ready to add more to the worm bin.

What do you do with your compost?
Now that you have your compost material you can put it in the crate outside. Try to keep a ratio of three-to-one (nitrogen to carbon). Every time you add new compost to the crate, mix it all together. This will help aerate the compost and speed up the compost process. A rolling compost bin can definitely help for this.
Is it working?
If your compost bin is warm and even steaming you’re on the right track, micro-organisms are hard at work. You can tell if the ratio is not quite right because it will either start to smell or not decompose. If there are too many browns than it won’t decompose, and if there are too many greens it will start to stink. You want to have a nice amount of moisture without it being soggy. Think – rung out sponge. You can spray it down if you’re in a hotter climate and it needs a little more moisture. Mix once a week. Aerating is crucial since compost needs oxygen to work.
For speedier results mix it about every other day and water often enough for it to stay damp. Also, chop up food so that it is smaller and easier to break down.

How do you know when it’s done?
It can take a good few months or more for you to see the nutrient rich, dark soil-like mixture called humus. To test to make sure, put a bit of the compost into a baggie. Seal it for about a week. If you open it up and it smells earthy it is good to go. If it stinks and smells a little like ammonia it means the organisms are still breaking it down and you might want to just test it again in about another week or two.
After it’s ready to go sprinkle it into the soil of your house plants or the plants in the yard. Watch those little babies grow!


We tried composting a few years ago with special black bins through the city. The only thing that developed was a nest of mice under one bin and a wasp nest under the other. We got rid of the bins.
Colleen, your compost acronym is AMAZING. I need to try this! We always had a compost growing up.
I’m going to try, thanks!
Thanks for this concise info. I have a big pile of old leaves and grass. Don’t really have a bin. I’ve been hesitant to put our food stuff out there because of raccoons and other animals.. I did use our composted leaves for my garden this year and my veggies did pretty well.
Great explanation article! People should compost more for future world savings!